Updated on Nov. 7, 2024
Find practical ideas to better protect your home against whatever nature throws your way.
One of the latest buzzwords in home maintenance is weatherproofing — equipping your home to better withstand heavy rains, wind, snow, and extreme temperatures. Recent climate events — from wildfires and severe storms to floods and extreme heat or cold — are motivating more homeowners to take action or step up what they’ve done in the past. Meteorologists are predicting a La Niña weather system for the winter, which could bring a mix of weather conditions across the U.S.
Sixty-four percent of the 1,200 homeowners surveyed by HIPPO, a home insurance group, say they’re concerned about severe weather or climate threats damaging their homes. More than half (56%) say they’ve already experienced damage.
Protect Your Investment: Why You Should Weatherproof
“We can’t prevent the weather, but we may prevent things from going wrong in our homes,” says Mark Olson, home insights expert at HIPPO. For example, an improperly sealed basement window can lead to flooding after heavy rains (a repair not covered by most standard homeowner’s insurance policies). “Weatherproofing your home also might lower the cost when unexpected [problems] do occur,” Olson adds.
Weatherproofing also may save you money on your energy bills, with savings, on average, from $150 to $1,200 per year, according to the American Council for an Energy-Efficient Economy.
Expert Weatherproofing Tips: Weatherization Ideas for Every Budget
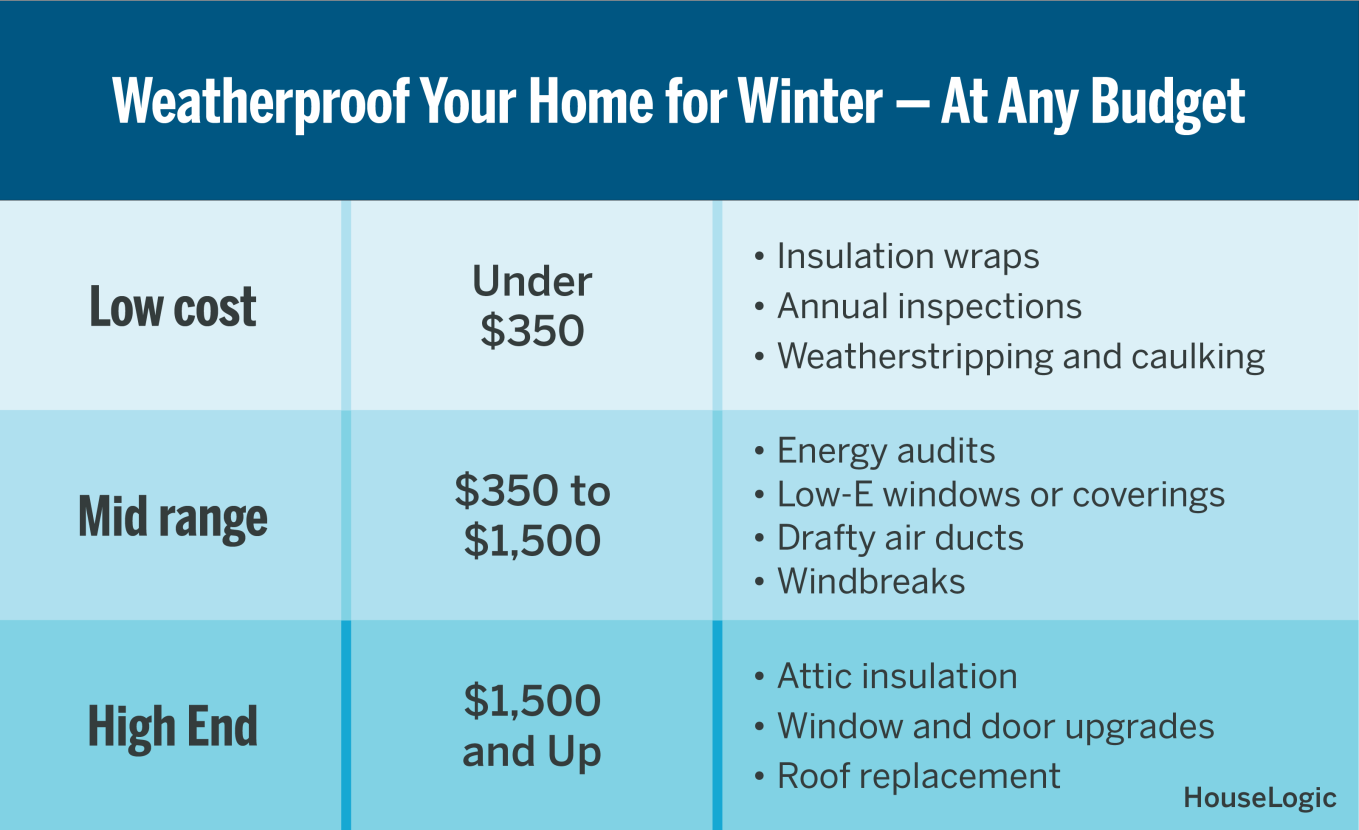
Experts offer storm and weatherproofing ideas that will make the most difference in your home based on three budget levels: low, medium, and high-end:
Effective Weatherproofing Tips: Budget-Friendly Ideas Under $350
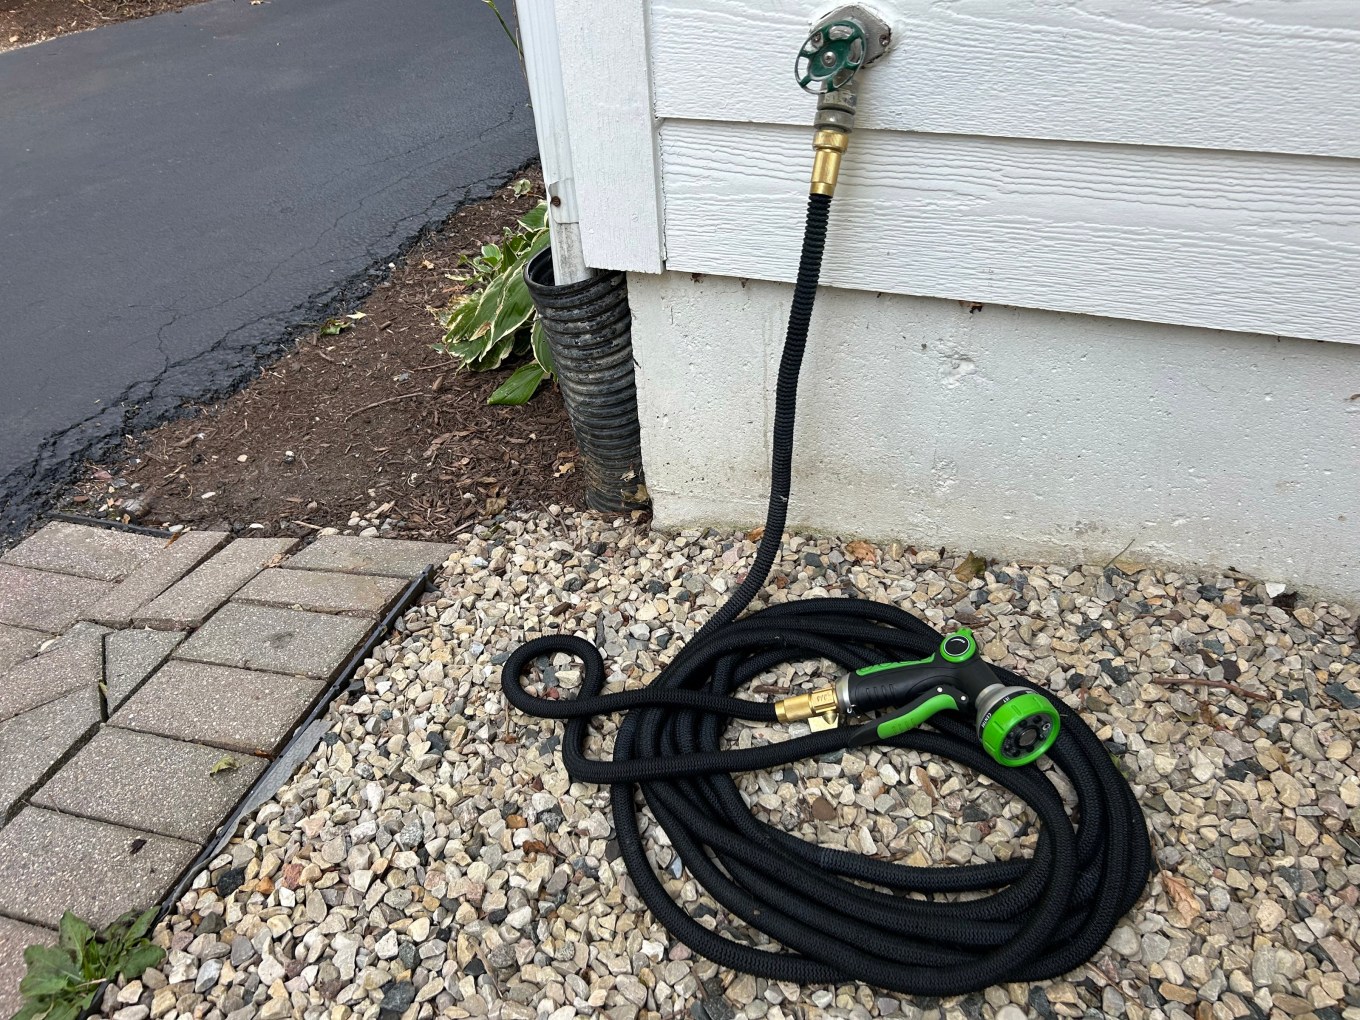
Use Insulation Wraps
Water heaters, often located in areas like an unfinished basement or garage, may benefit from a water heater insulating blanket (best for electric water heaters). It could reduce a system’s heat loss by up to 45% and even cut water heating costs by up to 16% in cooler months, according to the U.S. Department of Energy.
Estimated cost: $35 to $43
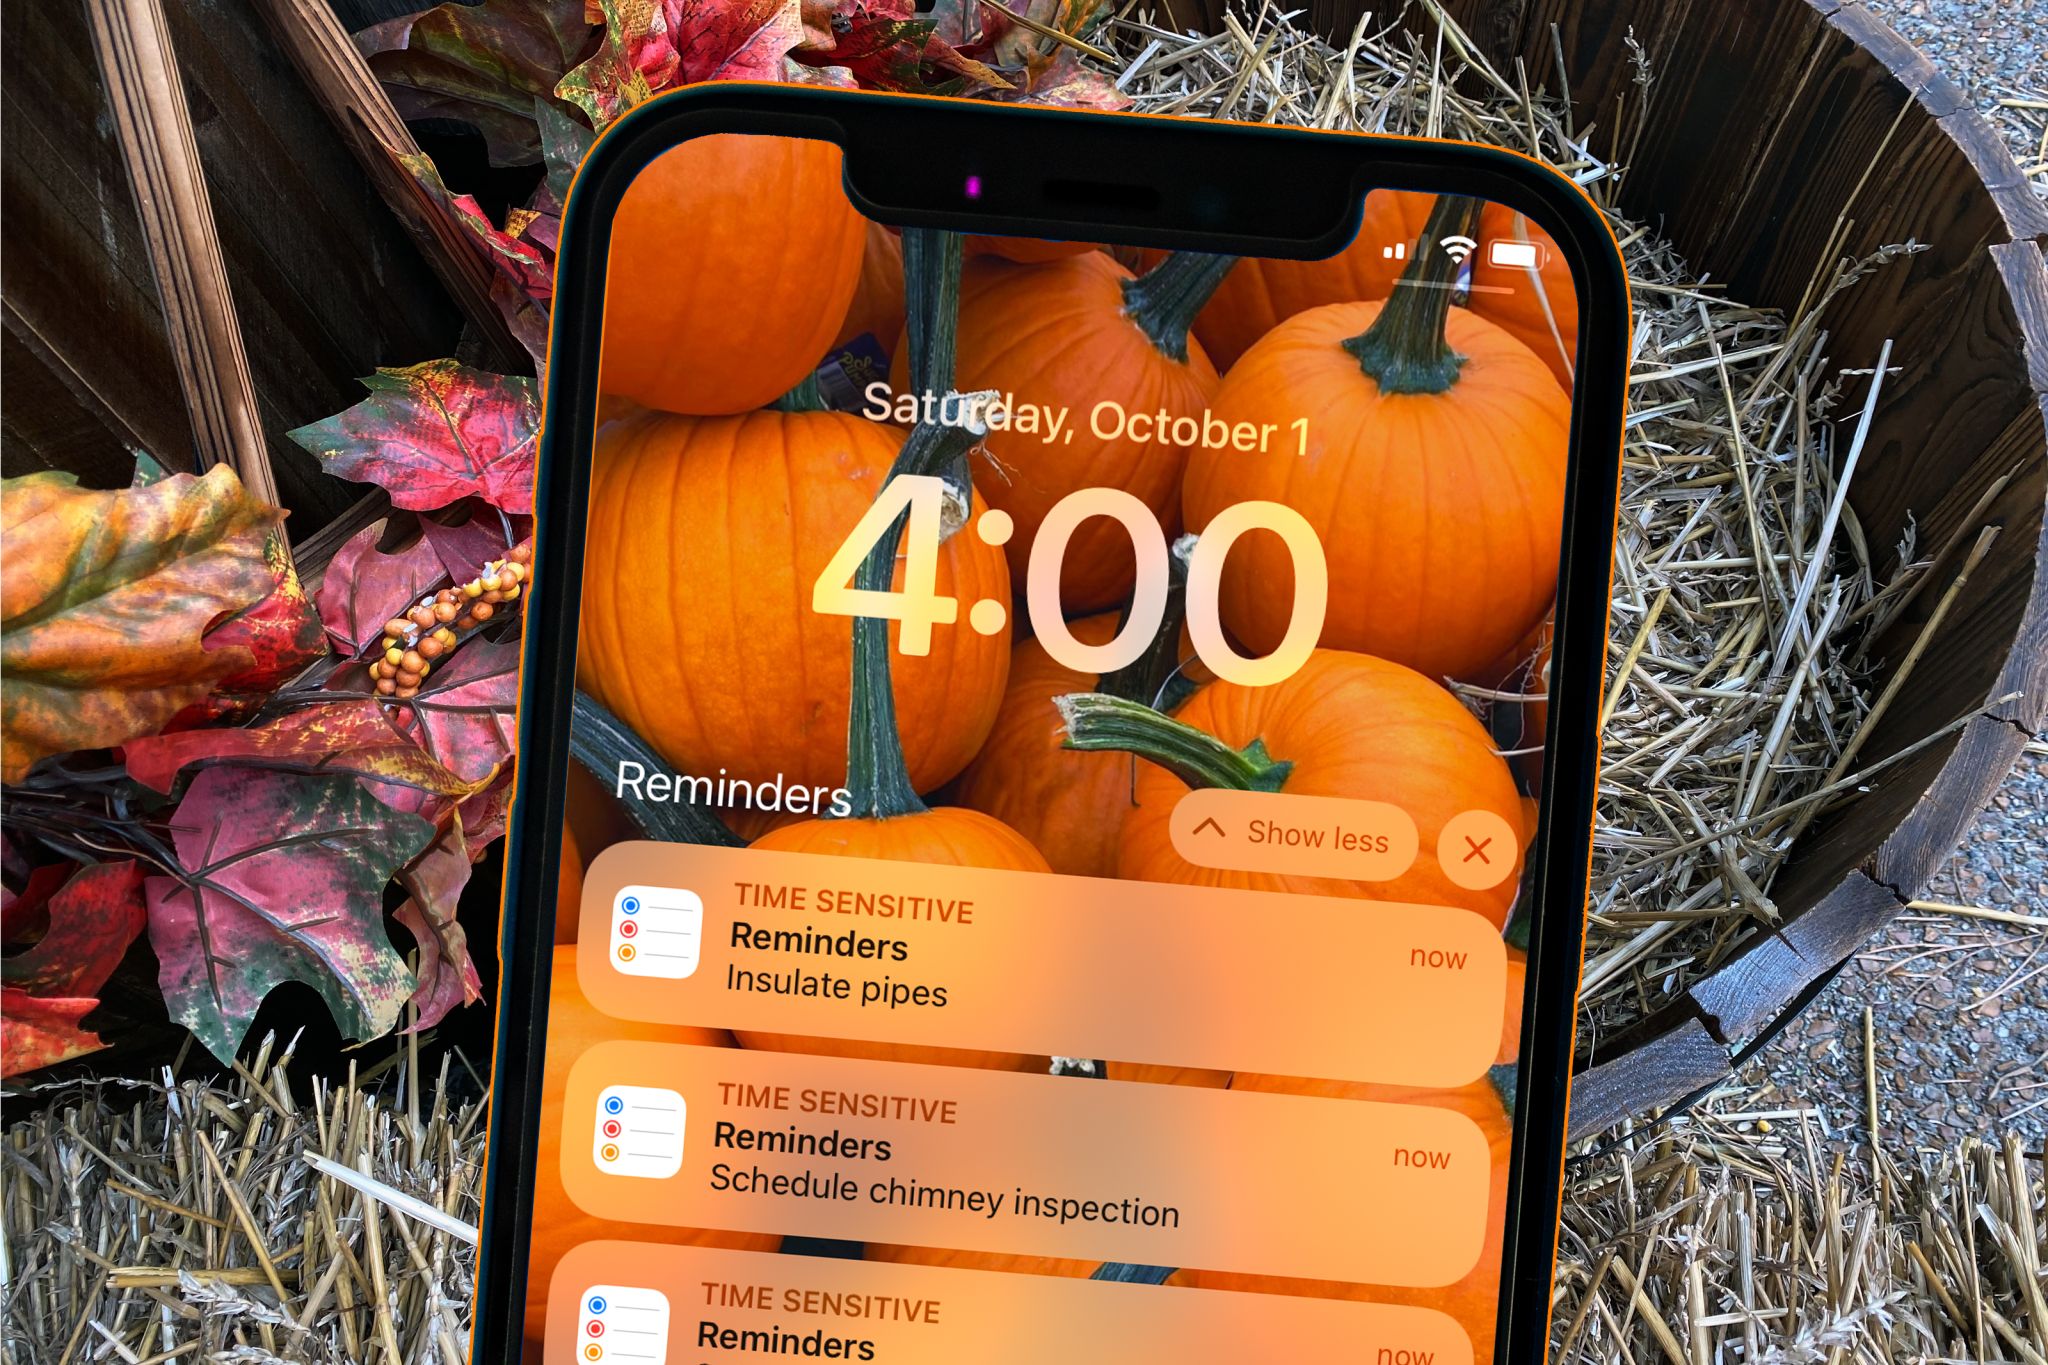
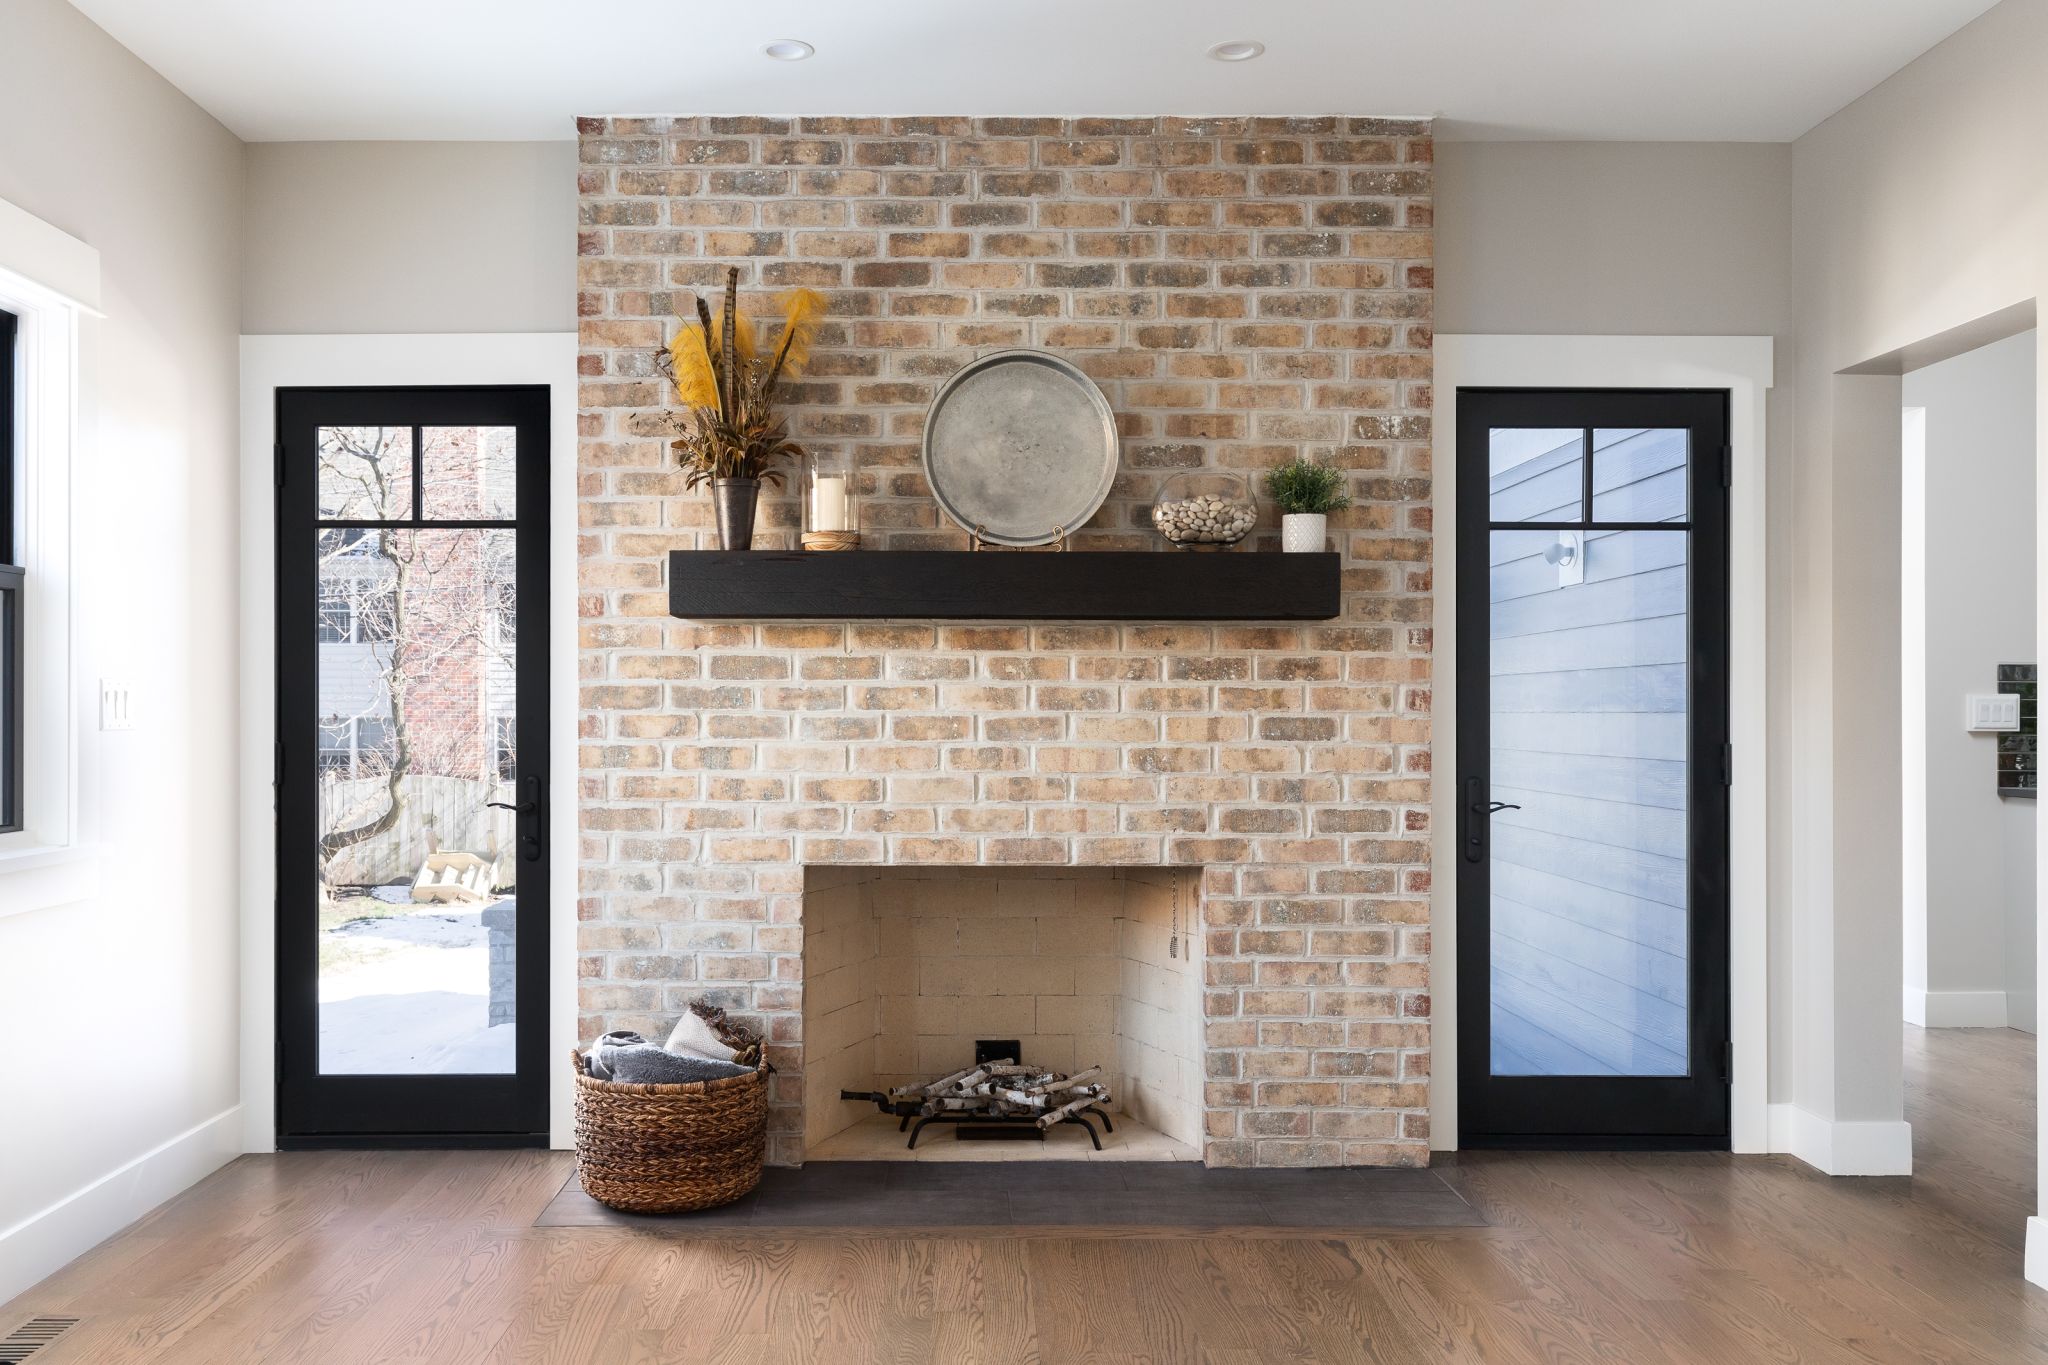
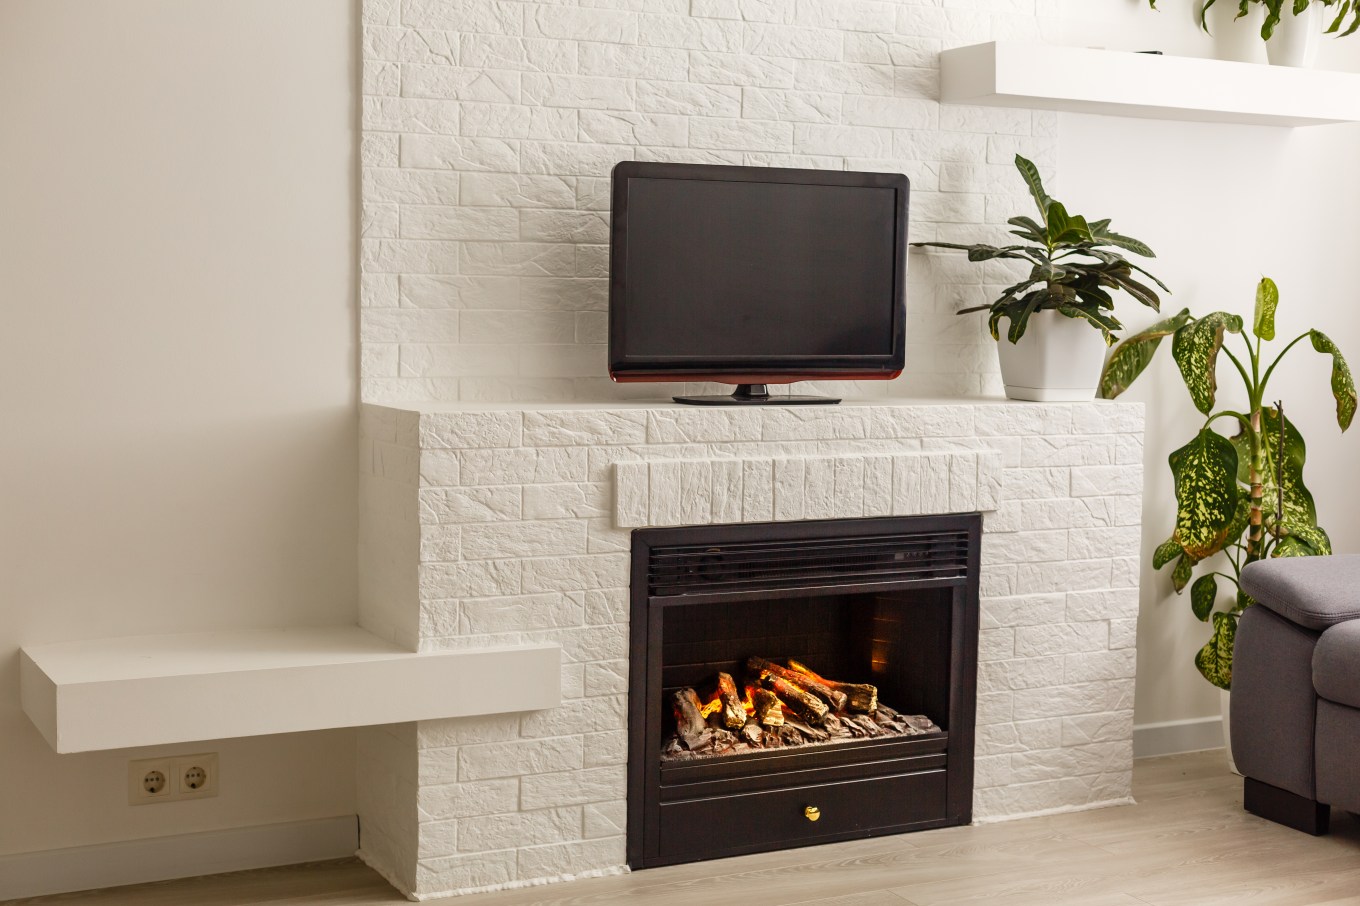
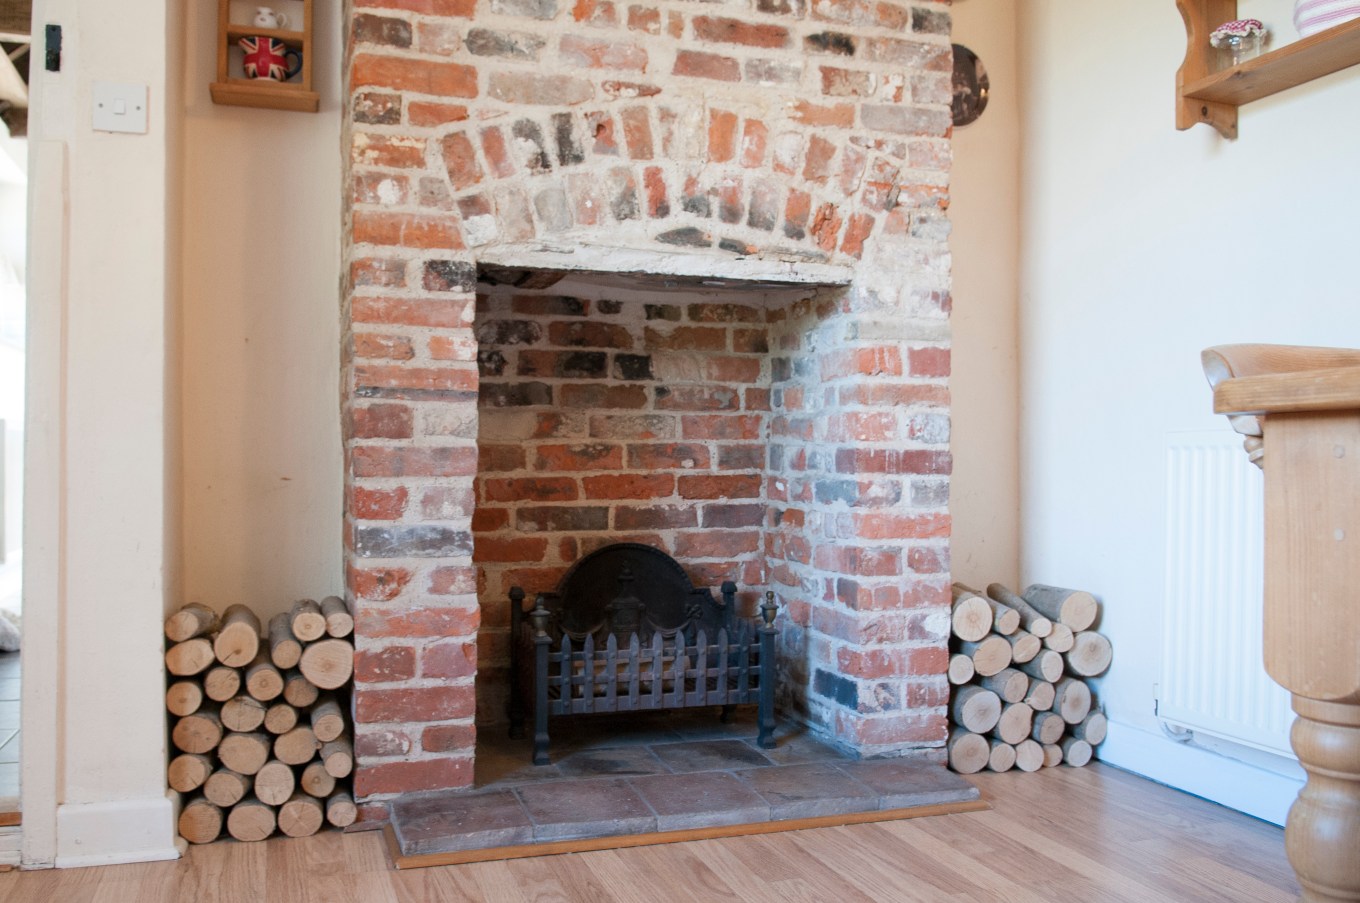
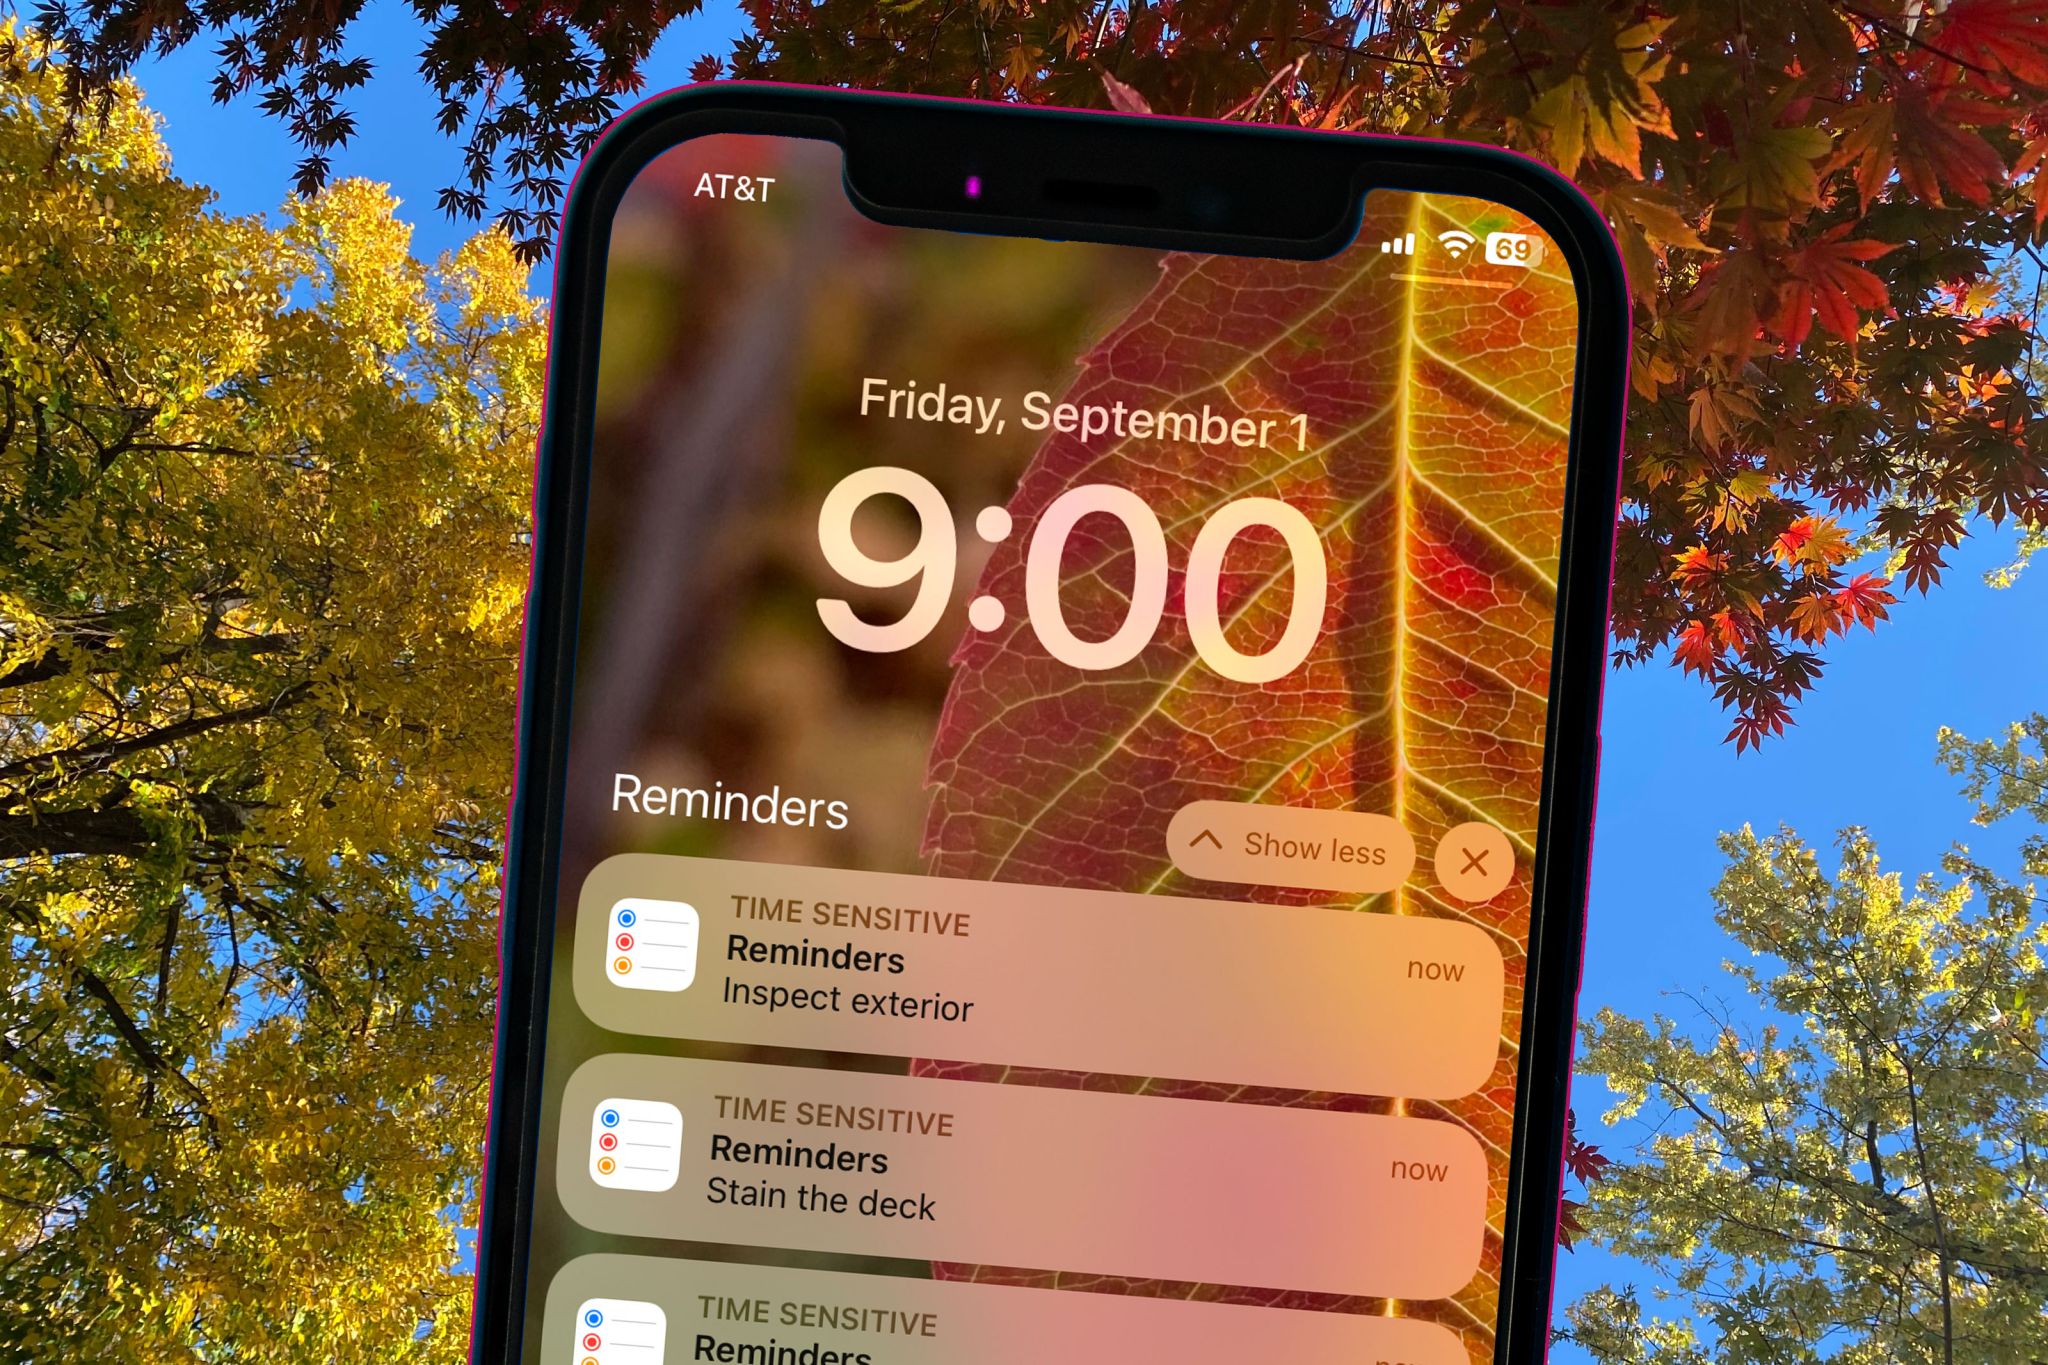
Have an Annual Inspection
Have inspections conducted annually to check the roof, the fireplace, and your home’s key systems — like HVAC and water heaters (have them drained too!). Leaves, bird nests, and other flammable materials can accumulate in fireplaces, posing fire risks. (For about $300, a chimney cap to block can block cold drafts, debris, and pests.) Also, self-inspect the attic for moisture, discoloration on walls or ceilings, or signs of pests. “An attic is an early warning system for your house,” Olson says. “You can learn a lot about the overall health of your home and roof by keeping an eye on your attic.”
Estimated cost: $150 to $300

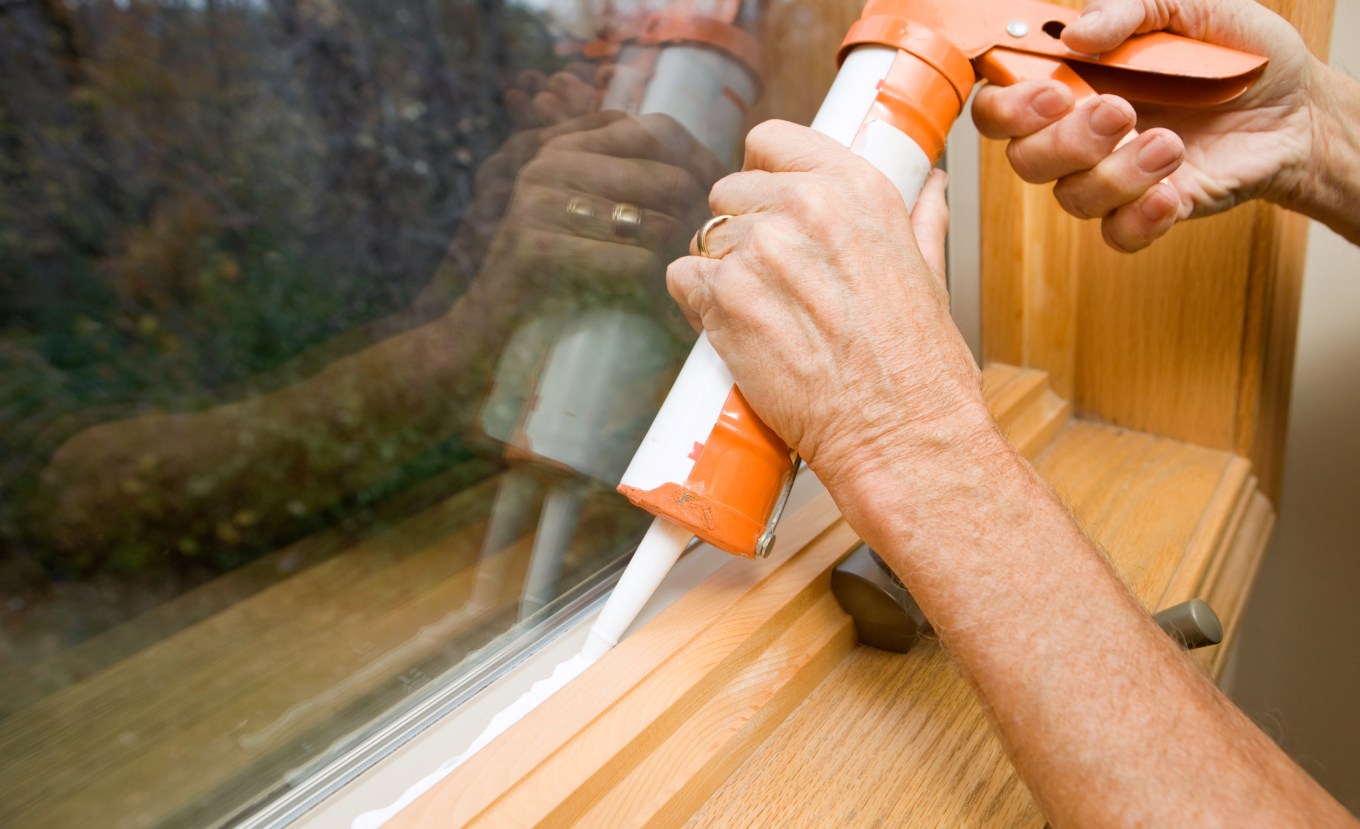
Add Weatherstripping and Caulking
Caulking and weatherstripping can prevent drafts and waterproof your house. Caulk tends to last five years, but that can vary greatly. “Look for gaps where cables enter your home, small holes in your flooring and walls, doors, and windows — anywhere a draft could be entering your home,” says Stuart Bensusan, director at Surewise, a home insurance company. “Sealing up small gaps and cracks in your home can help bring serious savings on your heating bill.” Also, weatherproof a door by attaching a door sweep to the bottom to block drafts.
Estimated cost: $350
The Department of Energy’s Weatherization Assistance Program provides weatherproofing services to about 35,000 eligible low-income households annually. On average, households save $372 or more per year. Learn more about your state’s offerings at Energy.gov.
Smart Weatherproofing Solutions to Weatherize for Under $1,500
Get an Energy Audit
A professional energy audit can flag problem spots. Diagnostic tests may include a blower door test or infrared imaging to detect air leaks, and inspections of windows, doors, and appliances. Based on the findings, tackle your home’s problem areas with caulk, weatherstripping, and other air-sealing methods. (Savings tip: Some utility companies offer a free or low-cost energy audit, says Docia Boylen, owner at Handyman Connection of Golden in Conifer, Colo.)
Estimated cost: $420
Use Low-E Windows or Coverings
Window weatherproofing could consist of swapping in a Low-E coated glass or film to minimize heat loss, says Kyle Barr, a vice president at Storm Guard Roofing and Construction in Lillian, Ala. In colder climates, look for window weatherproofing film with higher solar heat gain coefficient, or SHGC, ratings — like 0.30 to 0.60 — which filter out less natural light, and for warmer climates, lower SHGC ratings — less than 0.27.
Coverings like drapes can also help. “One of the best investments, especially if your windows are old, is thermal curtains,” says home renovation expert Drew Mansur, director at TileCloud in Australia. “They not only spruce up your interiors but also provide an additional layer of insulation to keep the cold out.”
Estimated cost of Low-E windows and coverings: $600
Fix Drafty Air Ducts
Ducts leaking even 20% of conditioned air passing through forces systems to work 50% harder and increases utility bills, finds a report from the University of Florida. A leaky duct can also cause higher indoor humidity, triggering mold and mildew. Most heating and air ducts are sealed with tape when first installed, but that tape can break down over time. Ductwork also may have holes or loose sections, rust, leaks, clogs, or condensation — all requiring repairs by HVAC professionals.
Estimated cost: $600
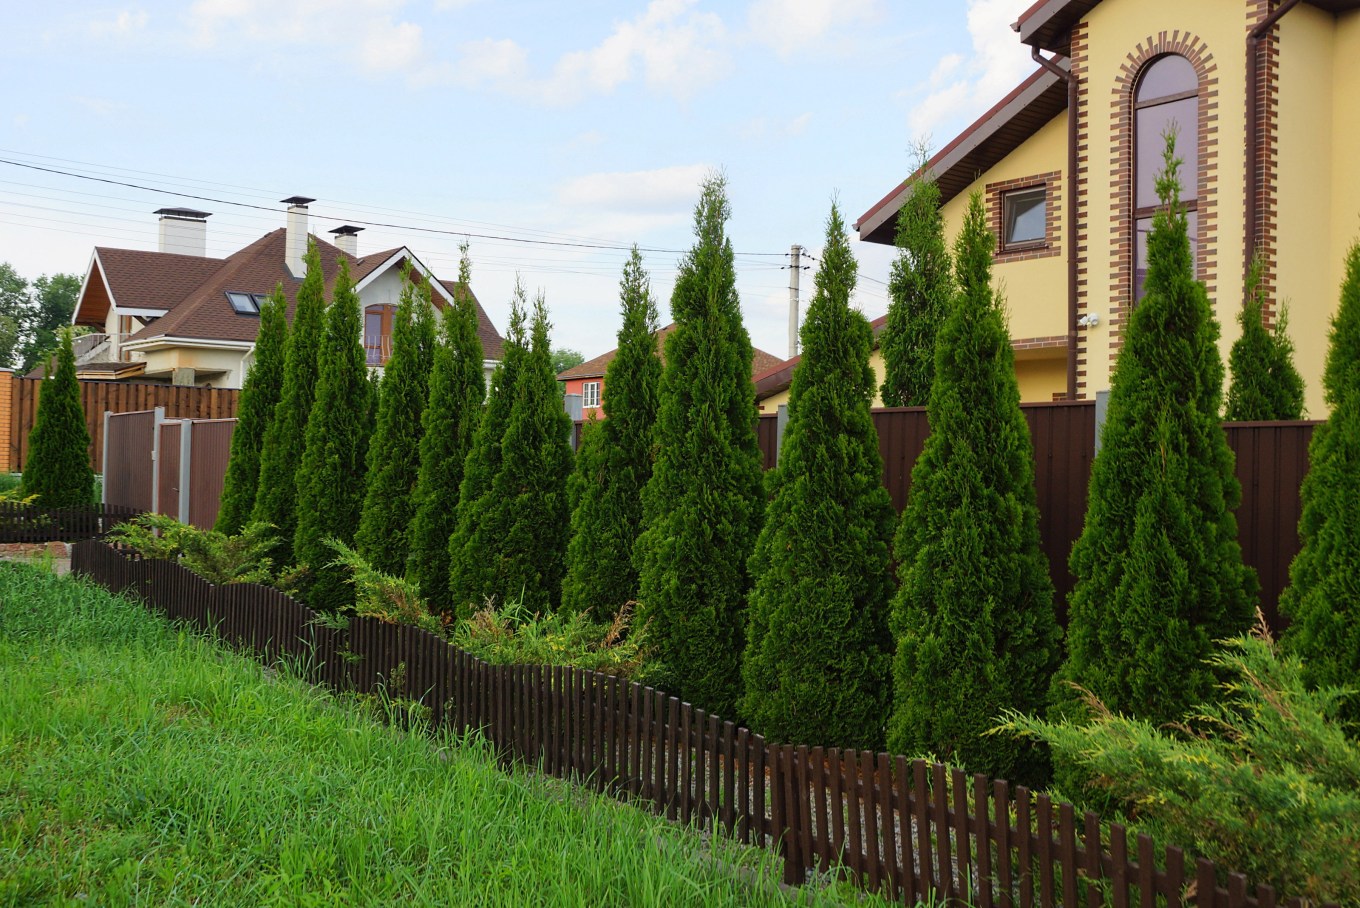
Plant Windbreaks
Landscaping can provide windbreaks to reduce wind around a home by up to 50%, as well as prevent snow drifts and reduce heating costs, according to the Department of Energy. “Dense evergreen trees and shrubs planted to the north and the northwest of the home are the most common type of windbreak,” the DOE notes. “Trees, bushes, and shrubs are often planted together to block or impede wind from ground level to the treetops.” A row of evergreen and deciduous trees, such as maple trees, can be effective, but two rows of staggered trees create a denser wind screen.
Estimated cost: $200 per evergreen tree
High-End Weatherproofing Tips: Invest $1,500 and More
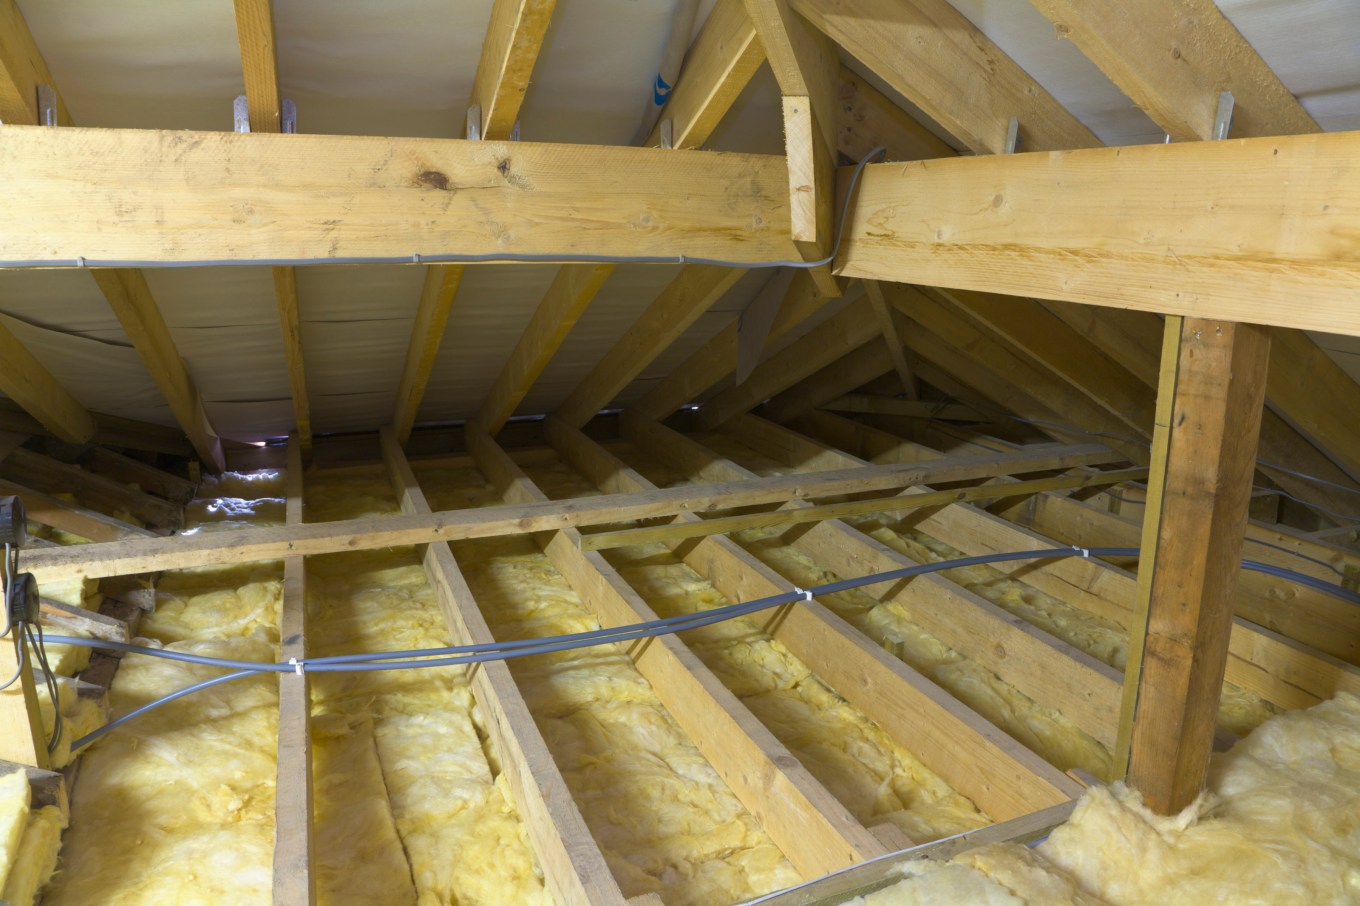
Install Attic Insulation
“Large amounts of heat can quickly be lost in a poorly insulated attic,” Bensusan says. The North American Insulation Manufacturer Association estimates nearly 90% of existing homes in America are underinsulated. Extra attic insulation also can protect pipes — like water lines in the attic — from freezing and bursting.
Estimated cost: $1,700 to $2,000
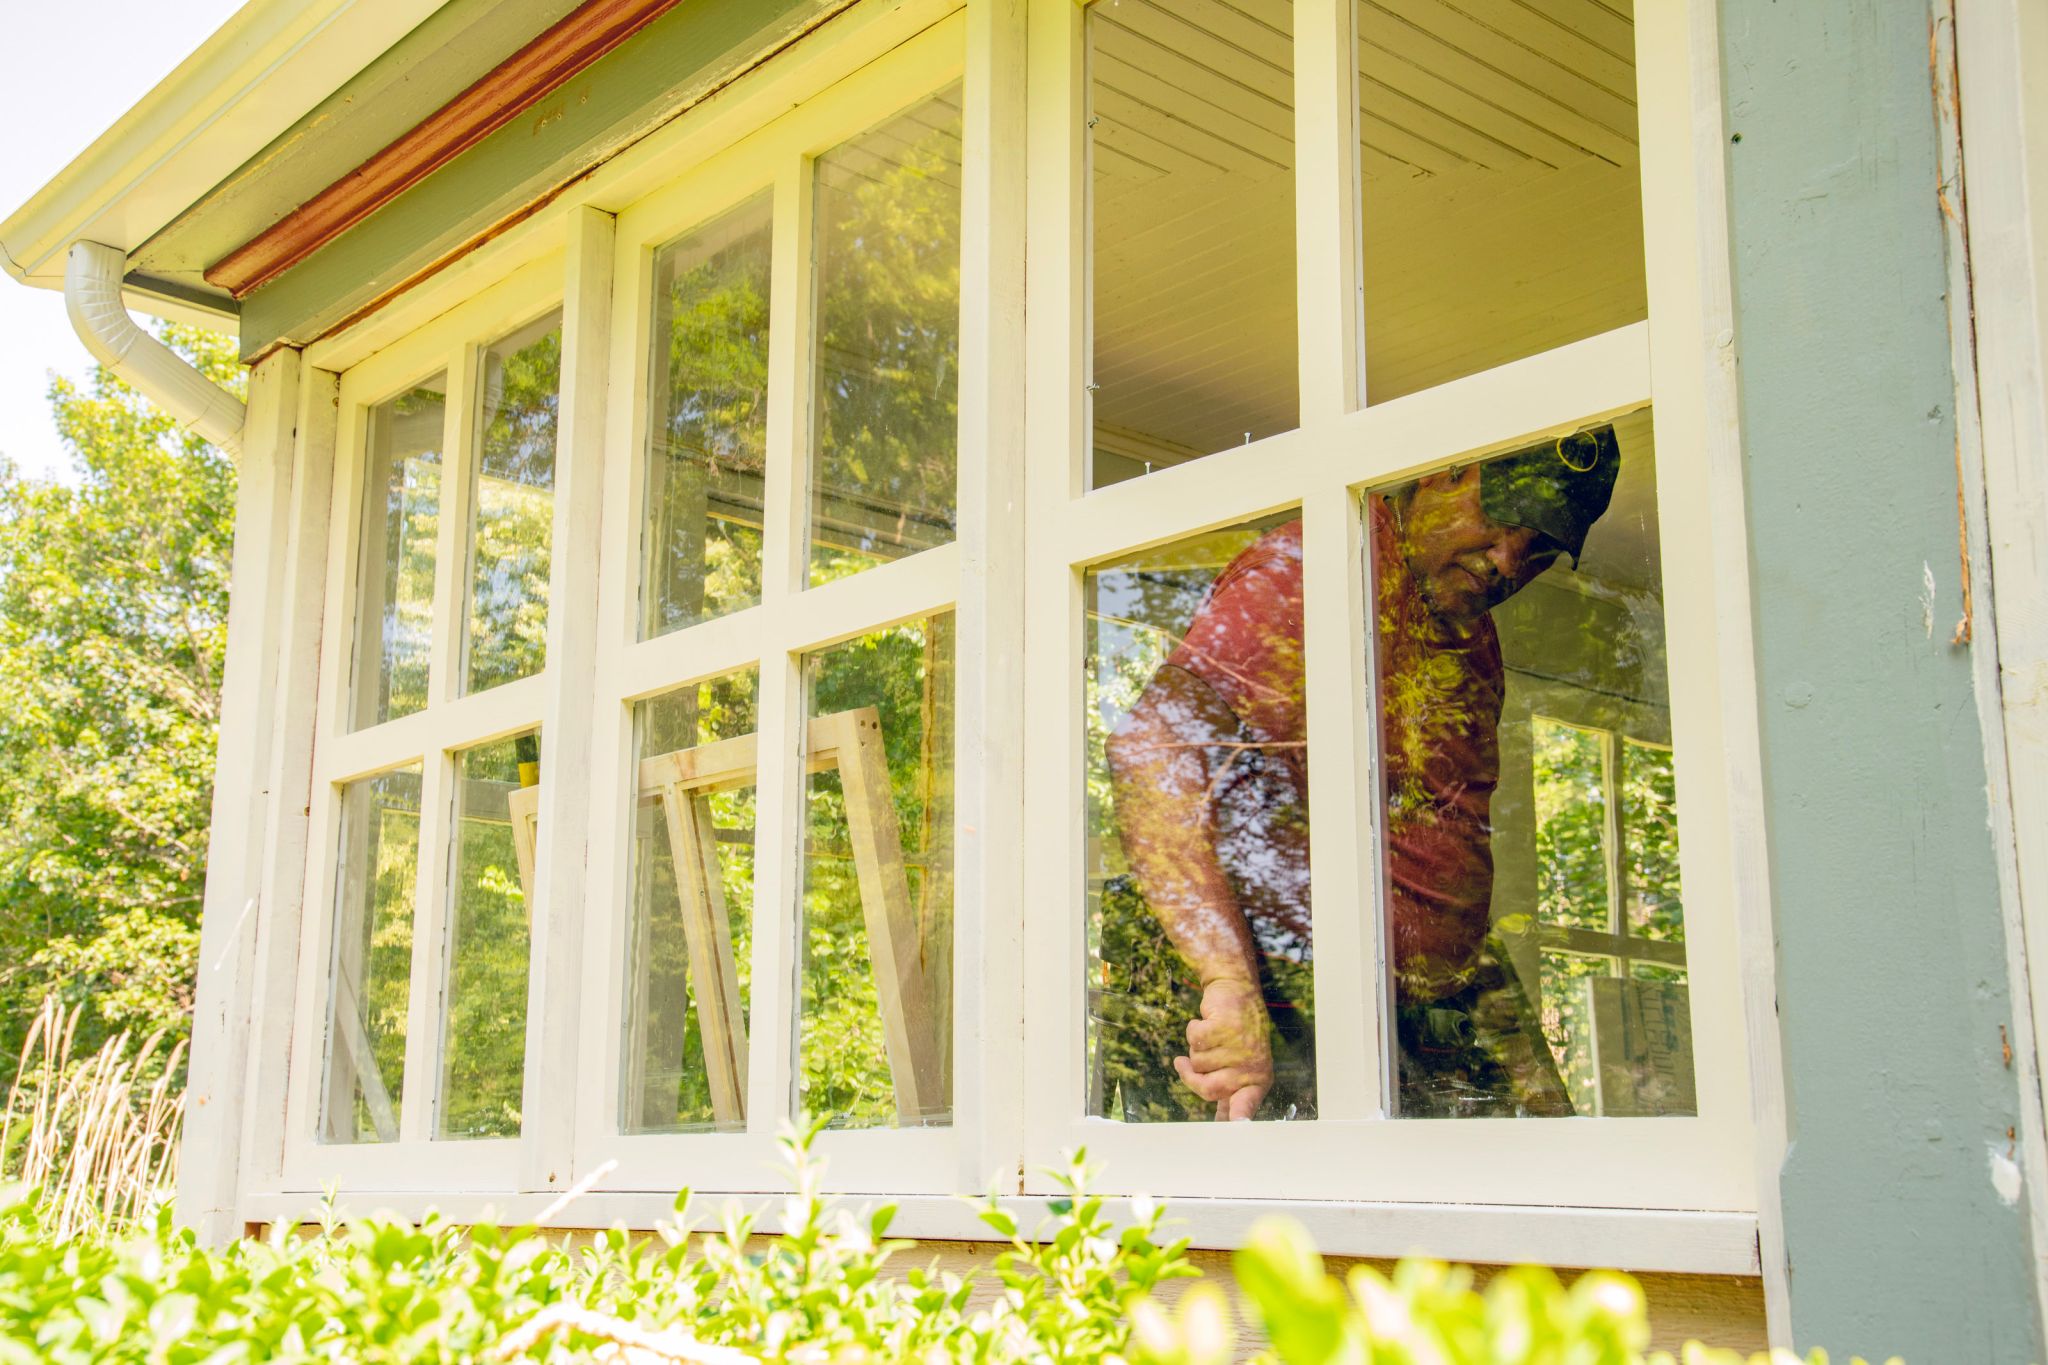
Upgrade Windows and Doors
Weatherproofed exterior doors and windows are more energy-efficient. Windows consist of double panes of glass, and doors have extra insulation. “This is both a great way to save on your bills and increase the value of your home,” Boylen says. Depending on your climate, hurricane shutters — made of aluminum, steel, or polycarbonate — can add protection against wind-blown debris. Also, storm windows and doors that fit over the outside of existing ones add a protective layer.
Estimated cost: $7,500
Replace Your Roof
Roofs typically last 20 to 30 years. When your roof is due for a replacement, consider weatherproof roofing materials. Pricier metal or tile roofs are more apt to withstand heavy winds and rain than lower-cost asphalt shingles, which gusty winds can tear off. Depending on your climate, hail-resistant shingles could benefit you.
“Whether your roof is in good condition or not, you can always make it more weatherproof,” Mansur says. For example, rigid insulation boards or a new weatherproof layer can add insulation and protection, he says. Also, solar panels can protect a home against power outages caused by extreme weather. The costs for installation — anywhere between $10,000 to $30,000 — may be offset with a 30% federal tax credit. Solar panels could save homeowners nearly $42,000 over 25 years, according to EnergySage.
Your roof is your main line of defense against extreme weather, particularly wind and rain. “Relatively minor damage to a roof can result in some very expensive damage to the interior of the home,” says David Hinson, a professor at Auburn University’s School of Architecture who focuses on incorporating enhanced energy performance features into affordable homes. If your roof is worn out, see replacing it as a golden opportunity to make your house more climate-resistant. New materials and technologies have helped roofs better withstand high winds.
Estimated cost: $9,000
Invest in Resilient Design
The smartest weatherproofing ideas come from the principles of resilient design, which incorporates elements like stronger windows and roofs, higher insulation, fire-resistant materials, and passive energy sources to create a home built for maximum protection. These improvements are more expensive than some of the routine fixes you may be used to, but investing for the long term will build your home’s protection and save money over time.
“Visit HouseLogic.com for more articles like this. Reprinted from HouseLogic.com with permission of the NATIONAL ASSOCIATION OR REALTORS®.”