Updated on March 3, 2025
Learn how the colors, accessories, and lighting in your home can improve your mood.

Home design is embracing a new look — one that’s centered on the way it makes you feel. The idea is that if your home doesn’t feel good, it won’t look good — at least to you. It’s called “dopamine décor,” and it’s generating buzz across social media for bringing “happy design” home.
Dopamine, the “feel good” hormone, was originally channeled into “dopamine dressing” — wearing bright colors and bold patterns to boost your mood. Now that same idea is entering home design, urging you to fill up your home with special items that bring you joy and a dopamine rush.
The idea is grounded in research. For example, when study participants looked at artwork they considered beautiful, the activity in the reward center of their brains (the same area of the brain that’s activated when you’re in love) increased significantly, according to research from neurobiologists Semir Zeki and Tomohiro Ishizu. Other studies also found that colors affect our psyche. Warm-colored interiors evoke excitement, and cool-colored spaces offer more restful, spacious feelings.
What Is Dopamine Decor?
Dopamine décor often combines bold colors, playful patterns, and expressive design, a counter to the once-trendy, matchy-matchy style of minimalism — characterized by simple lines and neutral color palettes.
The idea is to celebrate self-expression and creativity. “Adding dopamine decor to your home creates a space that feels bright, energizing, and uniquely personal,” says James Mellan-Matulewicz, creative director of Bobbie Beck, a U.K.-based design and print studio. “By incorporating vivid colors with textures and decorative furnishings, this trend helps make your home an inspiring mood-boosting place to be.”
Your space should give you a “sense of euphoric bliss that hits the moment you walk in,” says Matthew Coates, principal architect and managing partner of Coates Design Architects + Interiors in Los Angeles.
7 Ways to Embrace Dopamine Décor
Dopamine décor often gets lumped in with maximalism and over-the-top styles. But it doesn’t have to be. You can channel dopamine décor without going to extremes. Especially if you’re planning to sell your home in the near future, real estate agents would likely advise you to focus on pops like accessories and plants. Here are seven tips from the pros to choose from.
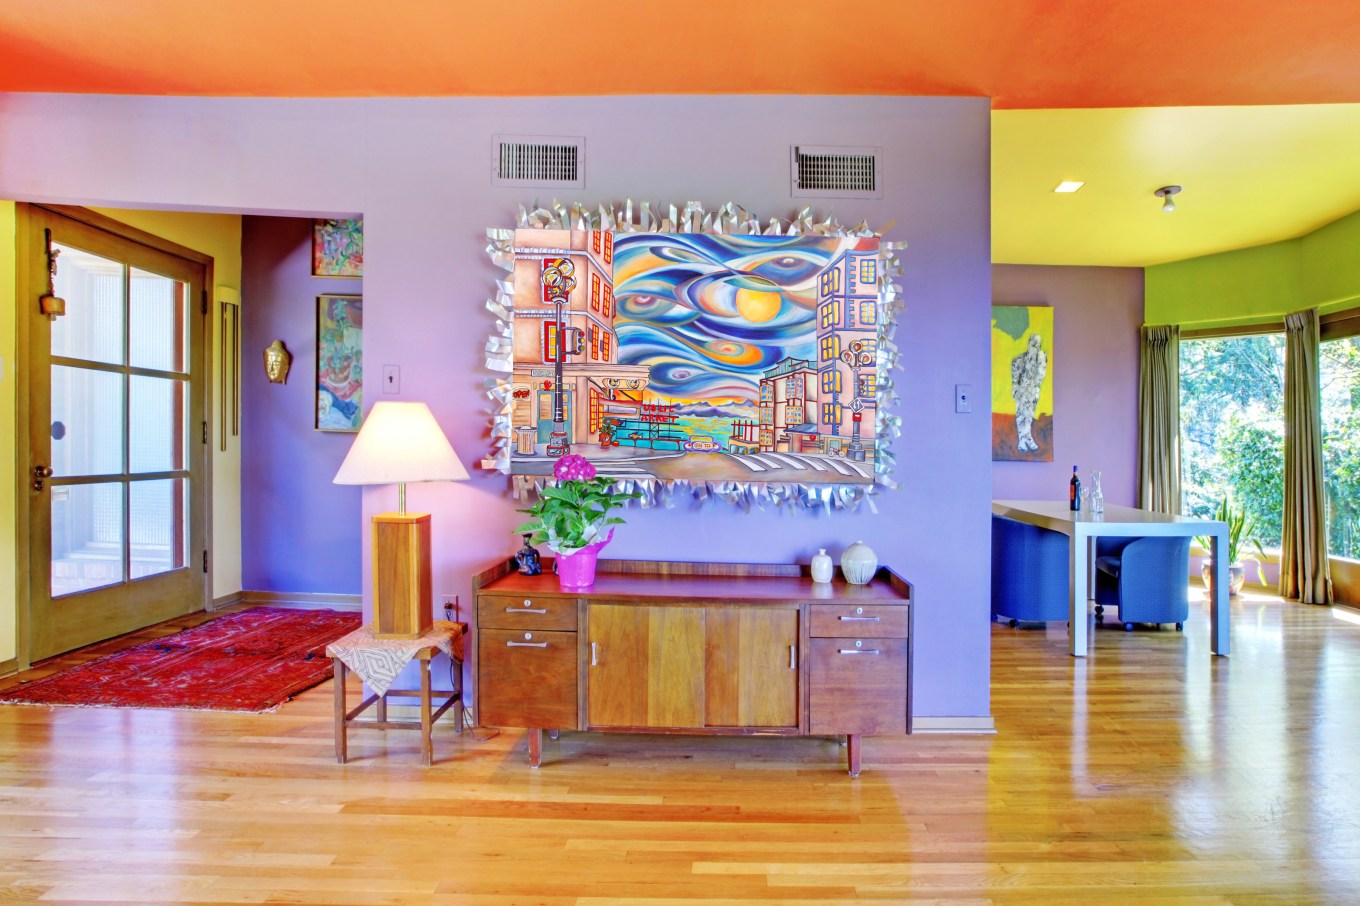
Spice Up Your Color Palette With Dopamine Decorating
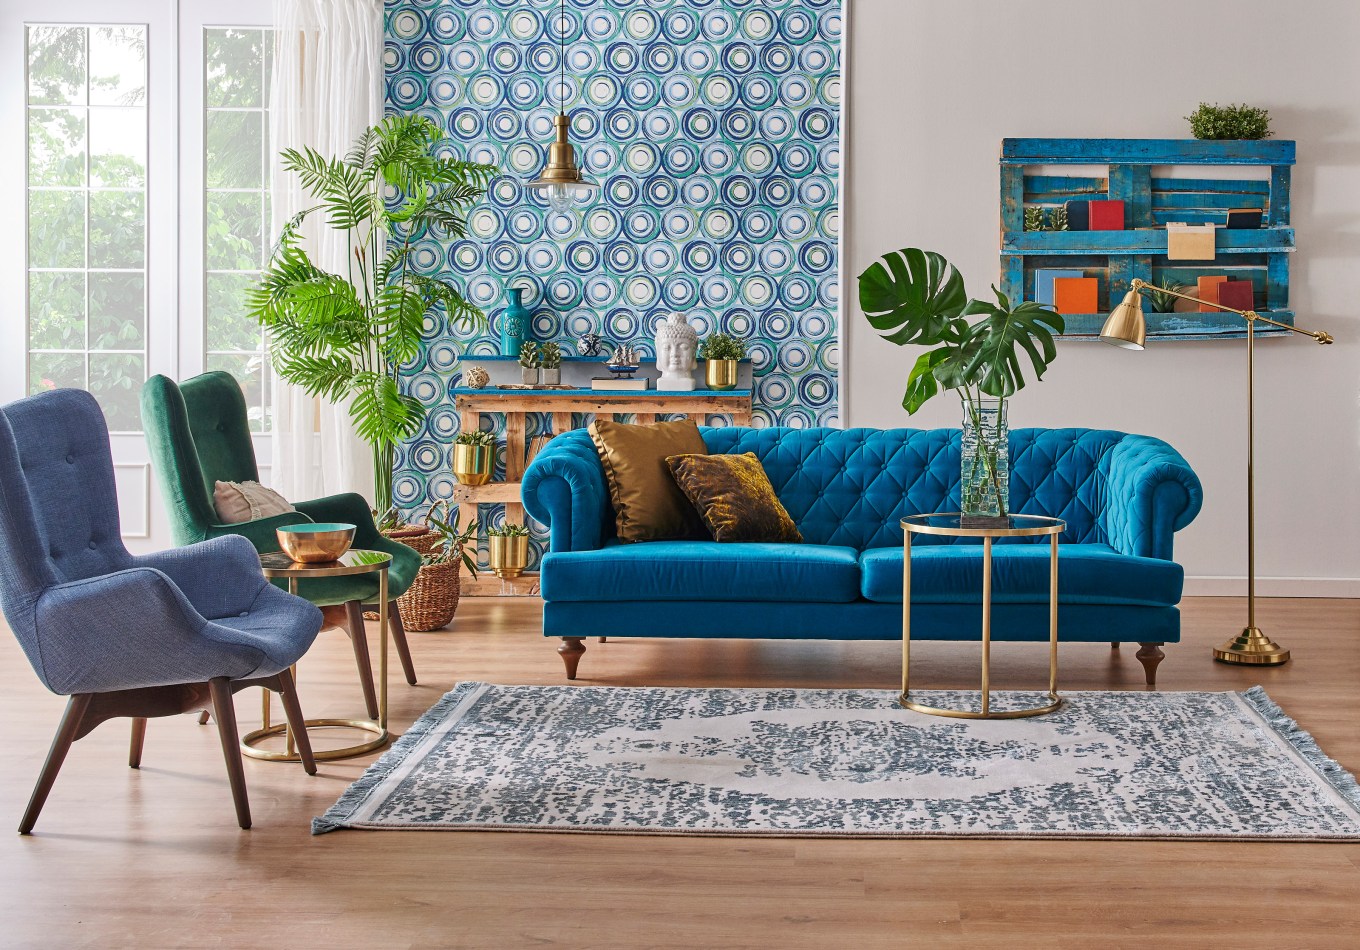
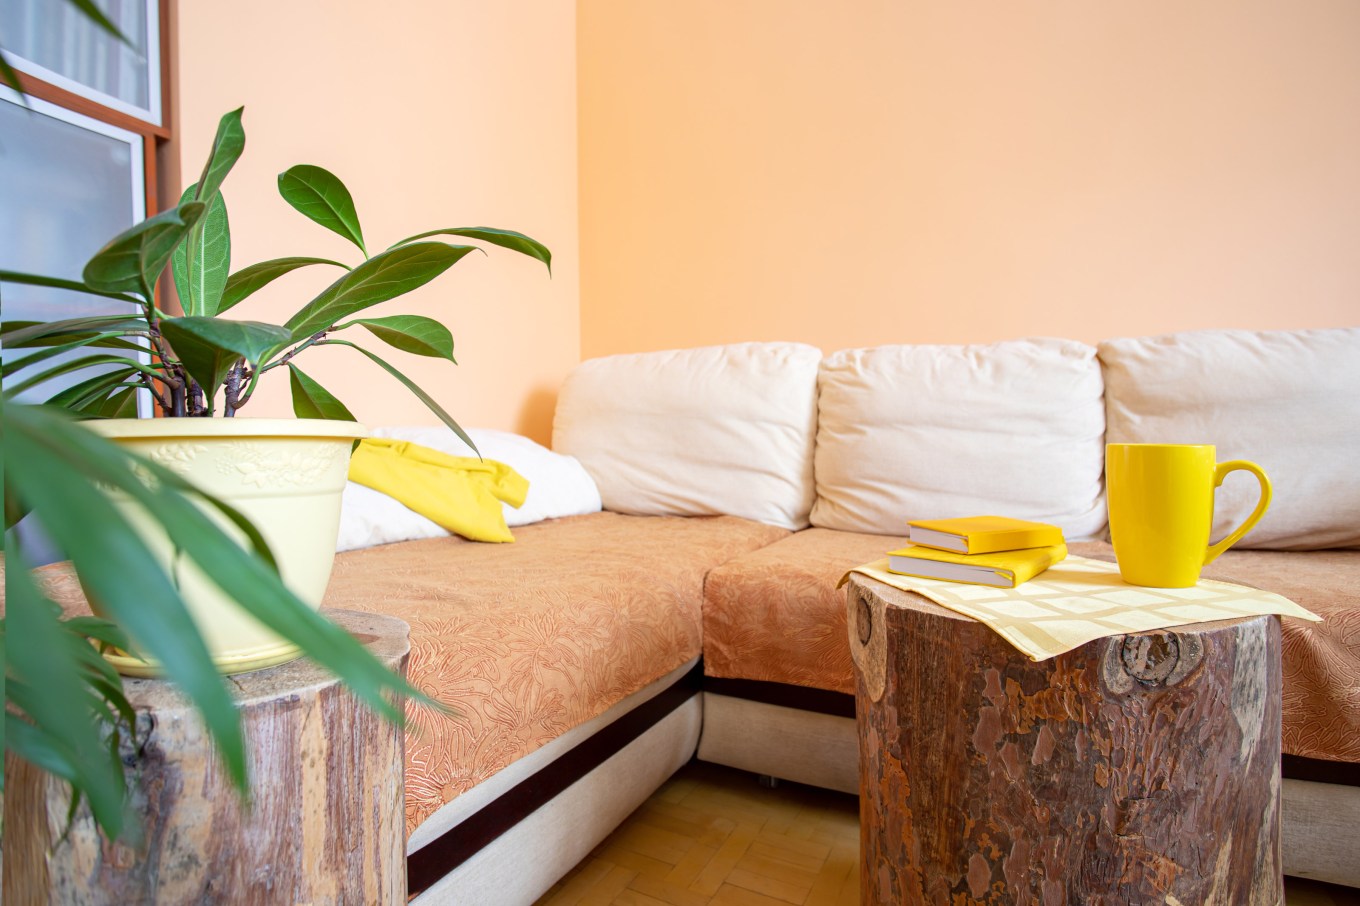
Dopamine decor often gets associated with loud, vibrant colors, like saturated colors of electric blue, hot pink, or even bright yellow. But choose the colors that inspire you.
Think about what’s your power color. “Some people swear by wearing a ‘power color’ that makes them feel incredible,” Coates says. “It’s the same idea for interiors. If bold colors energize you, swap out throw pillows, a rug, or even a lampshade for something in a vibrant, mood-boosting hue.” This could be trying out a wall color or an accent wall, or even painting the ceiling vibrant colors like fuchsia, mustard yellow, turquoise, or lime green to energize your space, Mellan-Matulewicz suggests. Or, try color blocking a wall in multiple colors, using contrasting or complementary colors to create blocks of color to dress up the walls.
However, maybe you’re more at peace surrounded by softer tones. In that case, lean into pastels or warm, earth shades, Coates says.
“The key is choosing colors that make you feel something — not just following whatever’s trending on Instagram,” Coates says. “It’s your home. Make it a reflection of what brings you joy.”
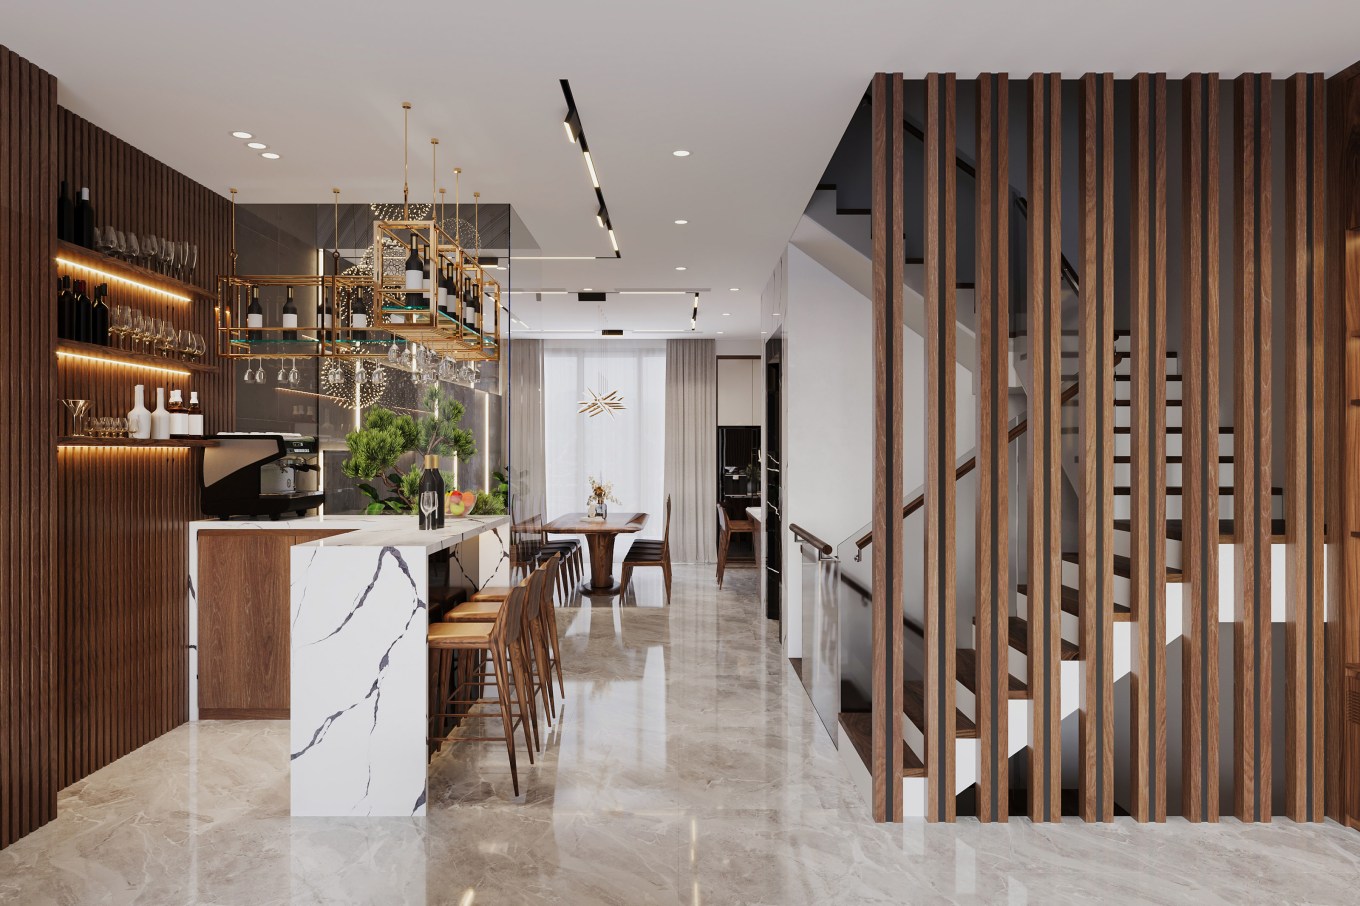
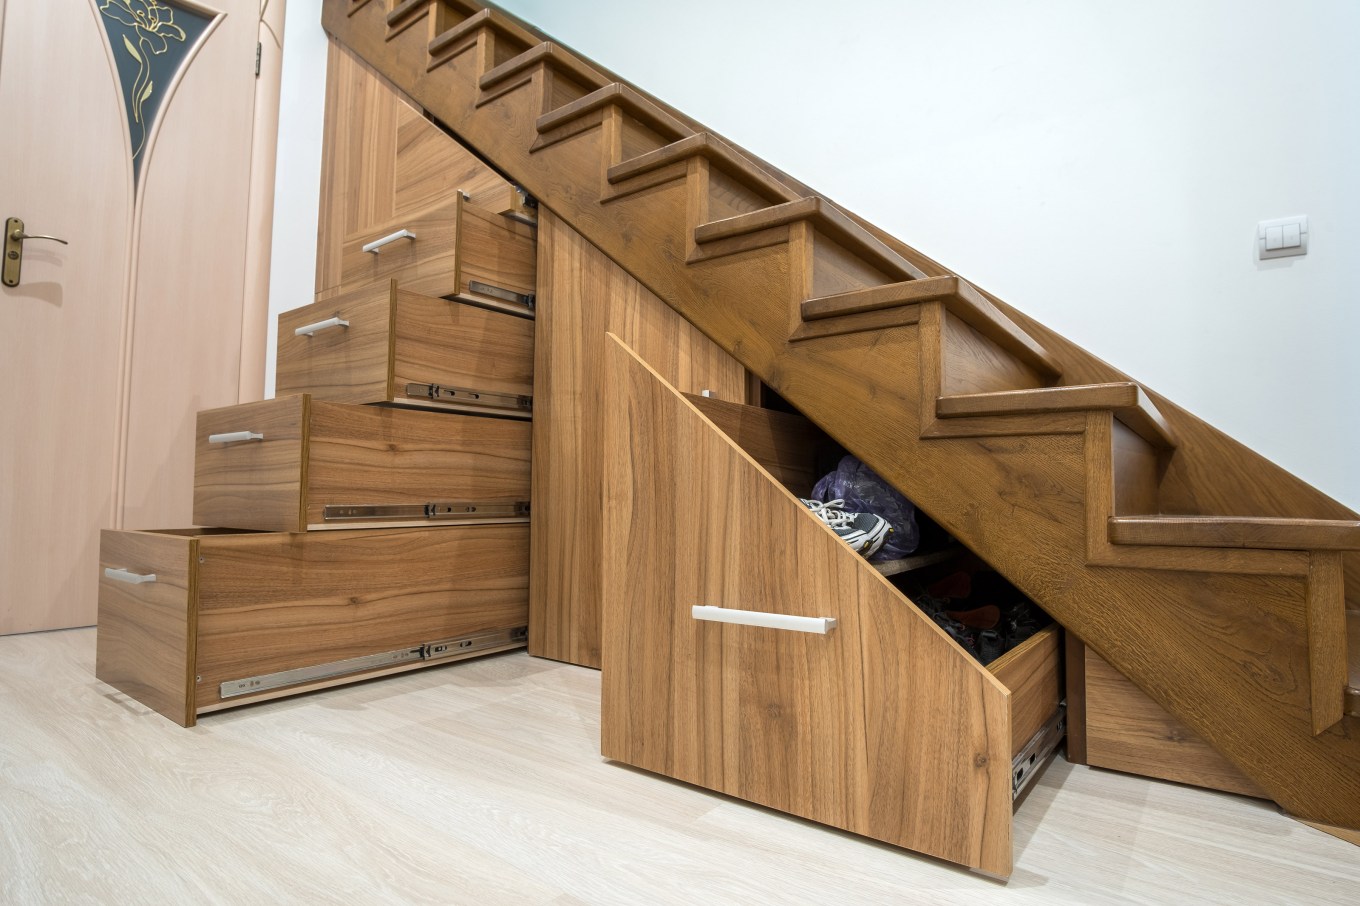
Bring in Statement Furniture
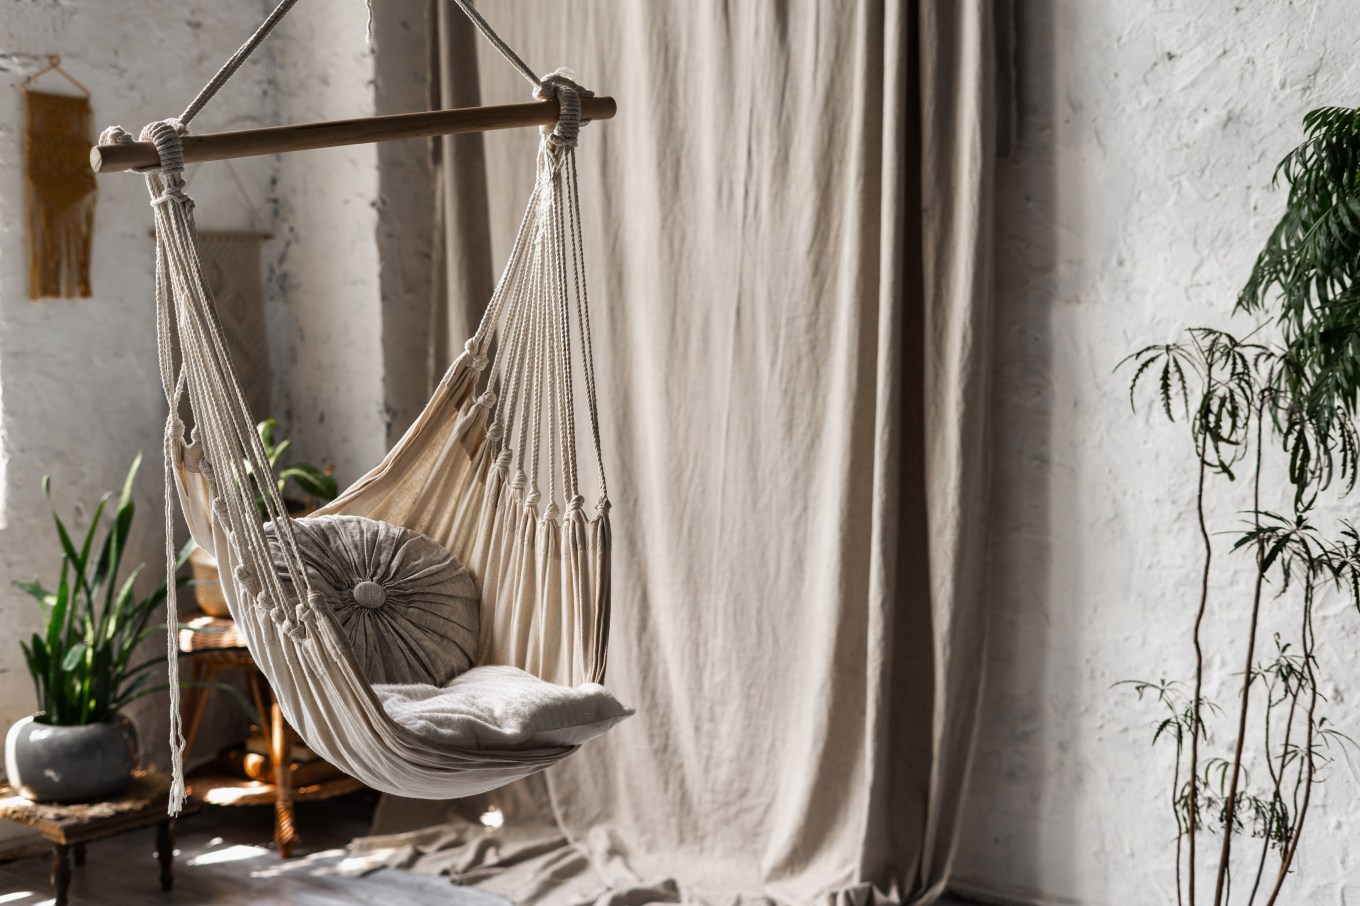
Mix up your space’s neutral furniture with a more attention-getting piece. Mellan-Matulewicz suggests energizing the space by using a brightly painted buffet or vanity table or even a sofa in an unexpected color. Or, try a quirky chair: a swing or egg chair hung from the ceiling in a bedroom or lounge space.
Colorful furniture may do the trick more than repainting an entire room. For example, paint a colorful cabinet or have a colorful backsplash accent in the kitchen to bring “happy hues without overwhelming the space,” says Alecia Taylor, an interior designer at CabinetNow.com.
Accessorize to Accentuate Dopamine Decorating
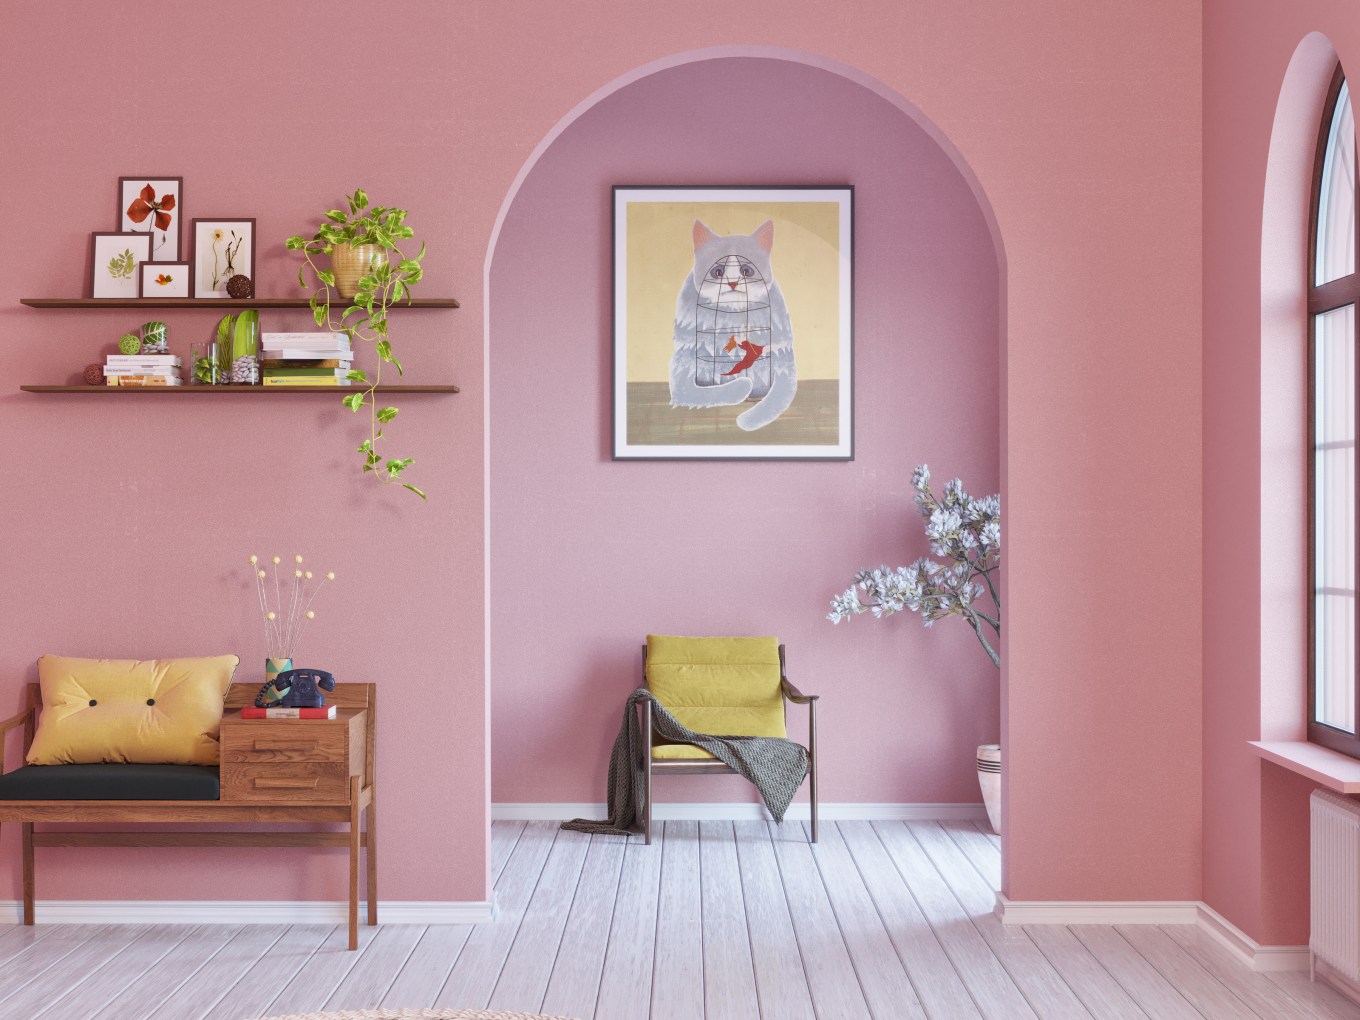
Art and home accessories can be another quick dopamine boost, Coates says. “I always tell people to decorate with things that spark happy memories or bring instant joy,” he says. Coates recalls working with a client who loved vintage New Orleans posters because they reminded him of the “good ‘ole days” growing up in Louisiana. So, Coates recommended framing a few posters and placing them prominently in the hallway. “Just like that, the space became an extension of his happiest self,” Coates says. “That’s the magic of dopamine décor. Your home should feel like you.”
On a similar note, Ellie Trebino Kelm, design manager at Mixbook, an online photo book service, has noticed an uptick in people turning to DIY projects using personal photographs. For example, they’ve created photobooks or nostalgic keepsakes.
That could also include surrounding yourself with happy memories by creating a gallery wall displaying cherished photographs of the family or from vacations. Such “DIY décor adds a personal touch and sentimental value that mass-produced items simply can’t match,” says Kelm.
“While it’s fun to lean into trending pieces, covering your home with what’s ‘popular’ might not always feel authentic,” Kelm adds. “Instead, focusing on items that bring you joy will result in timeless décor you’ll cherish for years to come.”
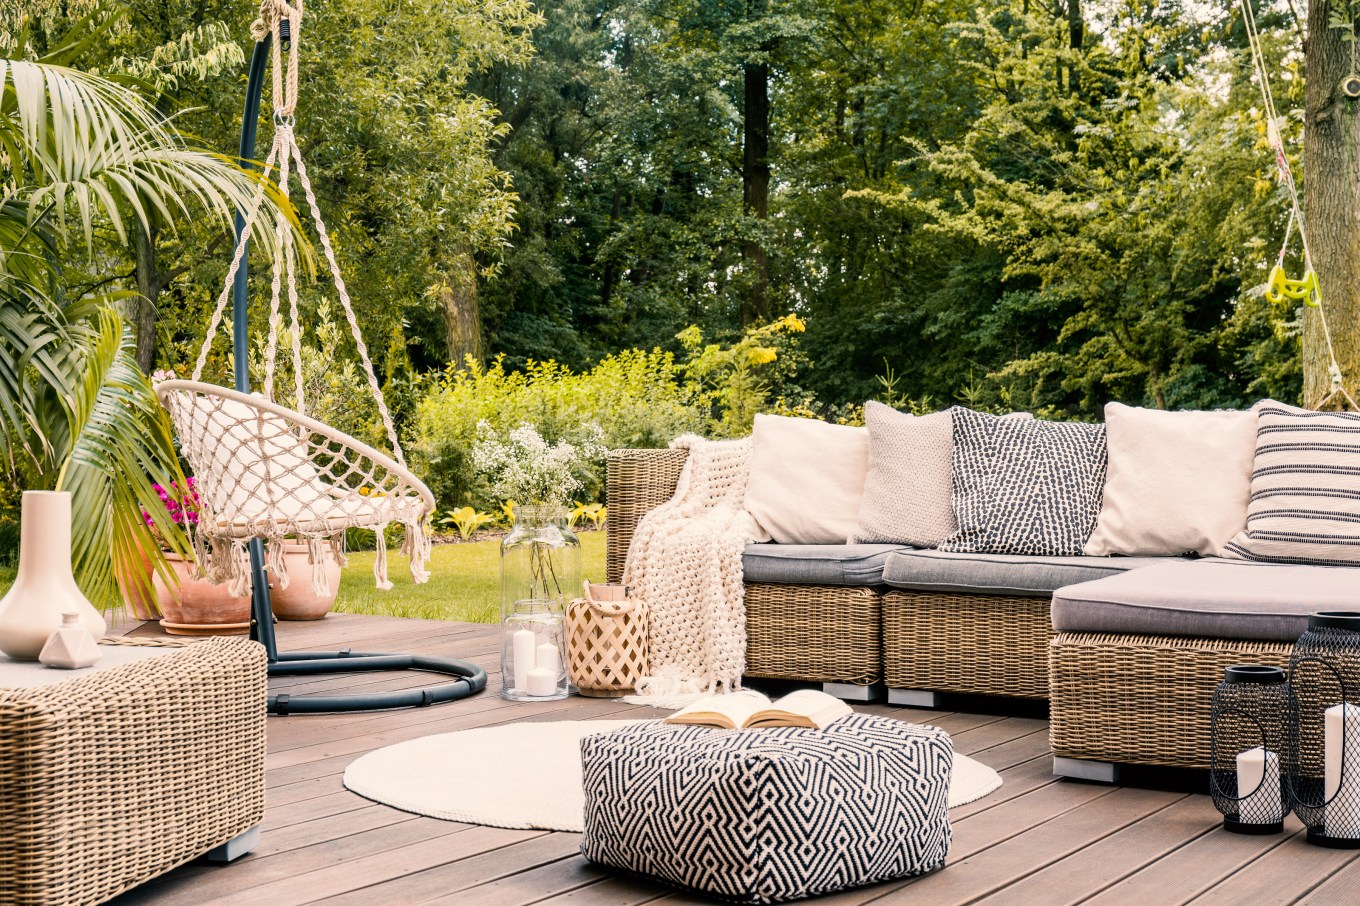
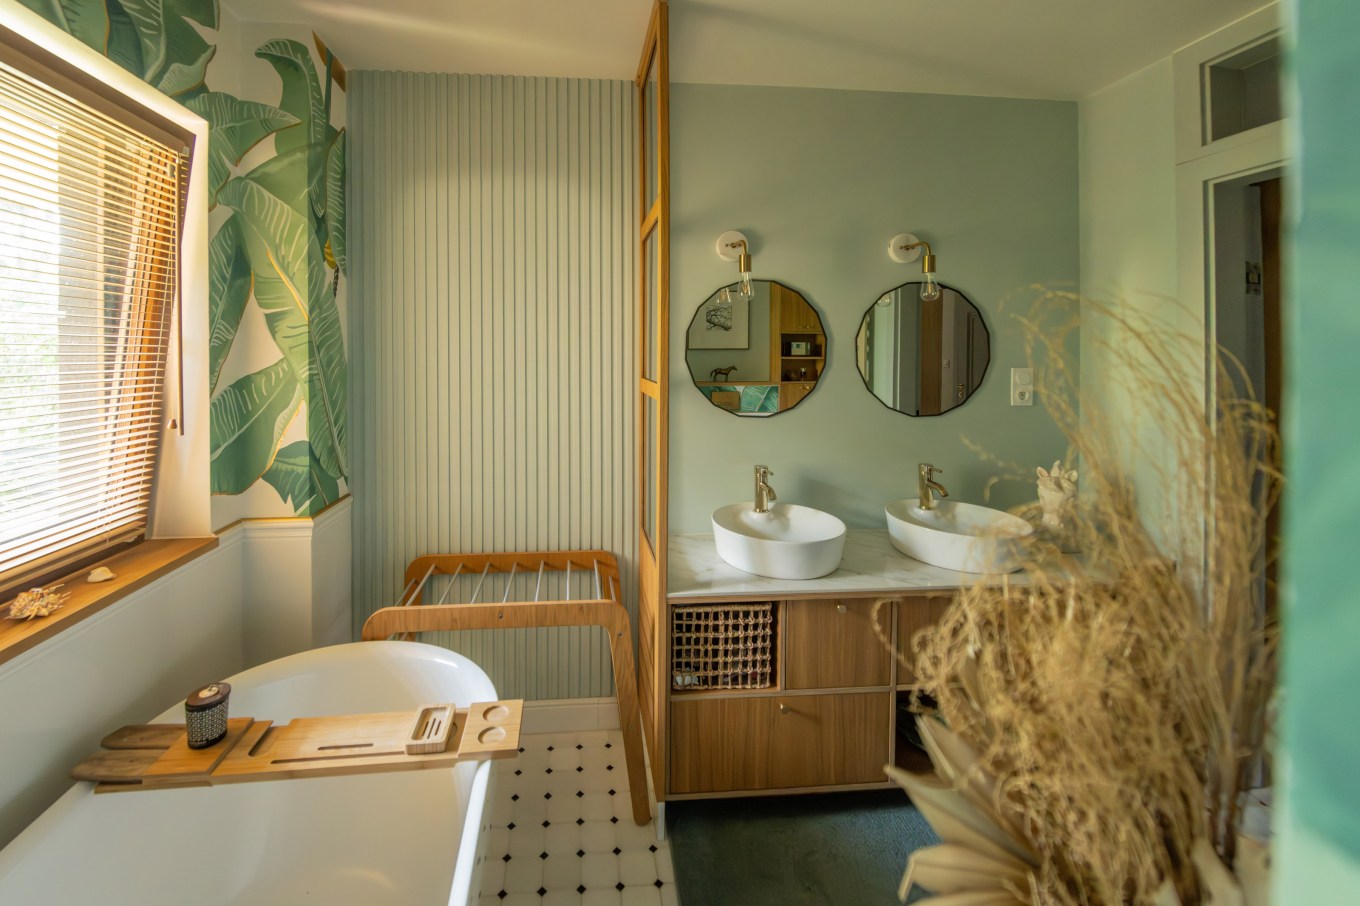
Add Dopamine Decor-Friendly Texture Touches
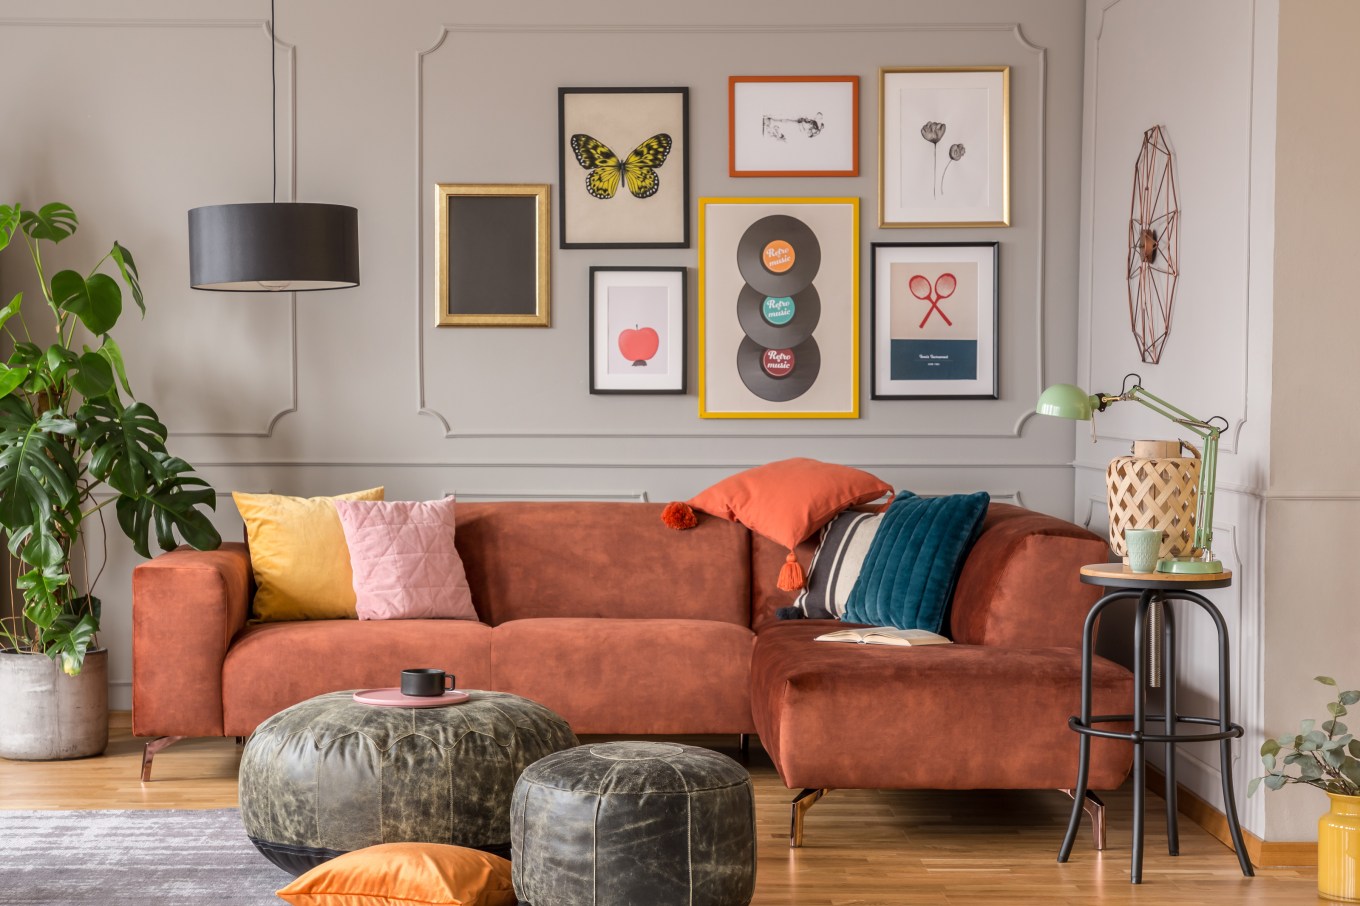
Experiment with textures and materials, such as velvet, fringe, tassels, embroidered cushions, or mirrored or iridescent finishes. They can add a playful touch, Mellan-Matulewicz suggests. “There’s a growing embrace of whimsical elements, including retro-inspired furniture, unique patterns, and quirky statement pieces, all of which bring personality to interiors,” he says.
Mix in textured laminates, fluted wood panels, or high-gloss surfaces in kitchen or bathroom cabinetry to create depth and interest while also keeping the foundation timeless, Taylor says.
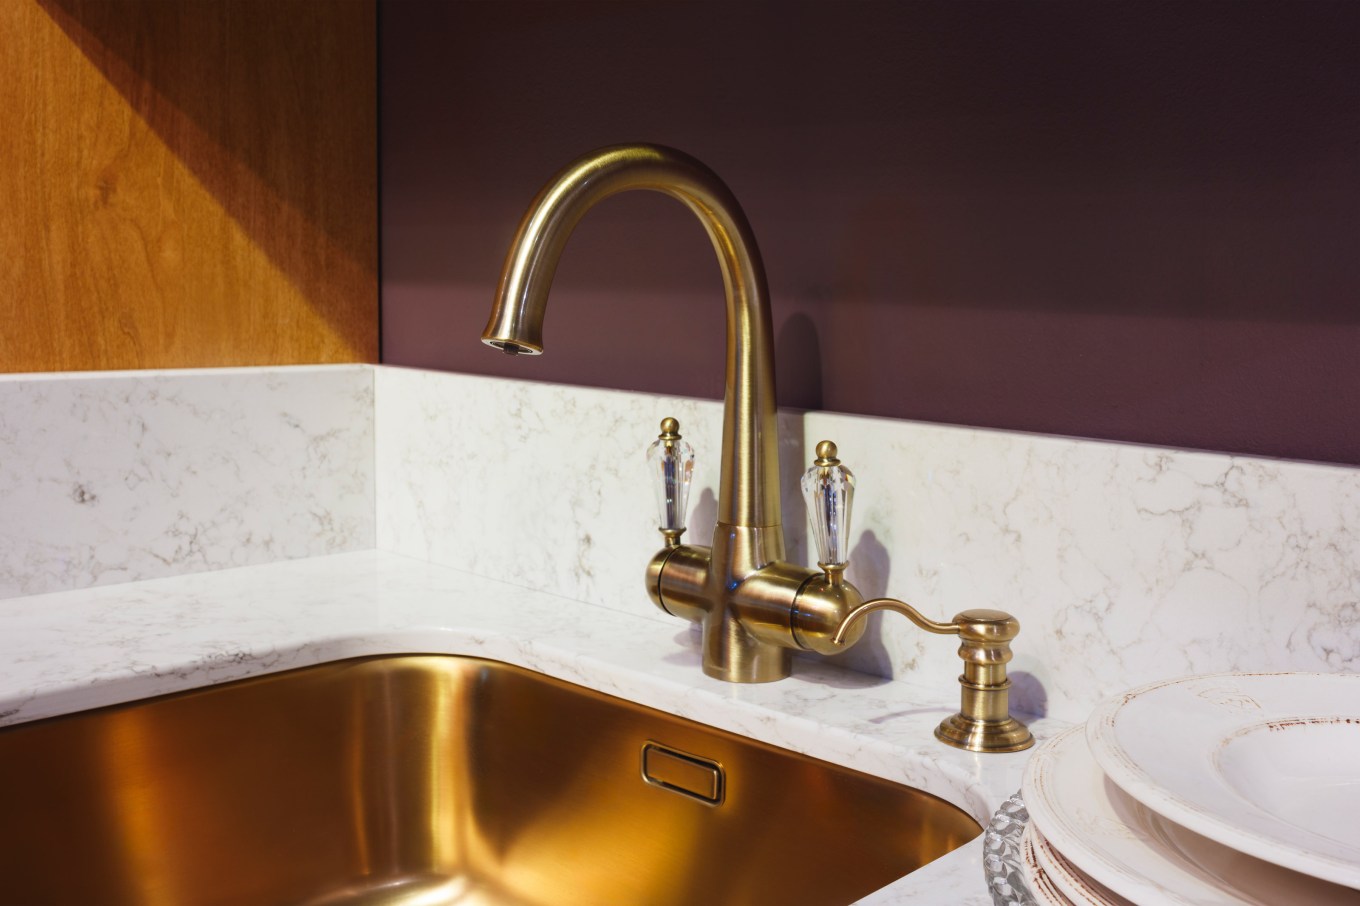
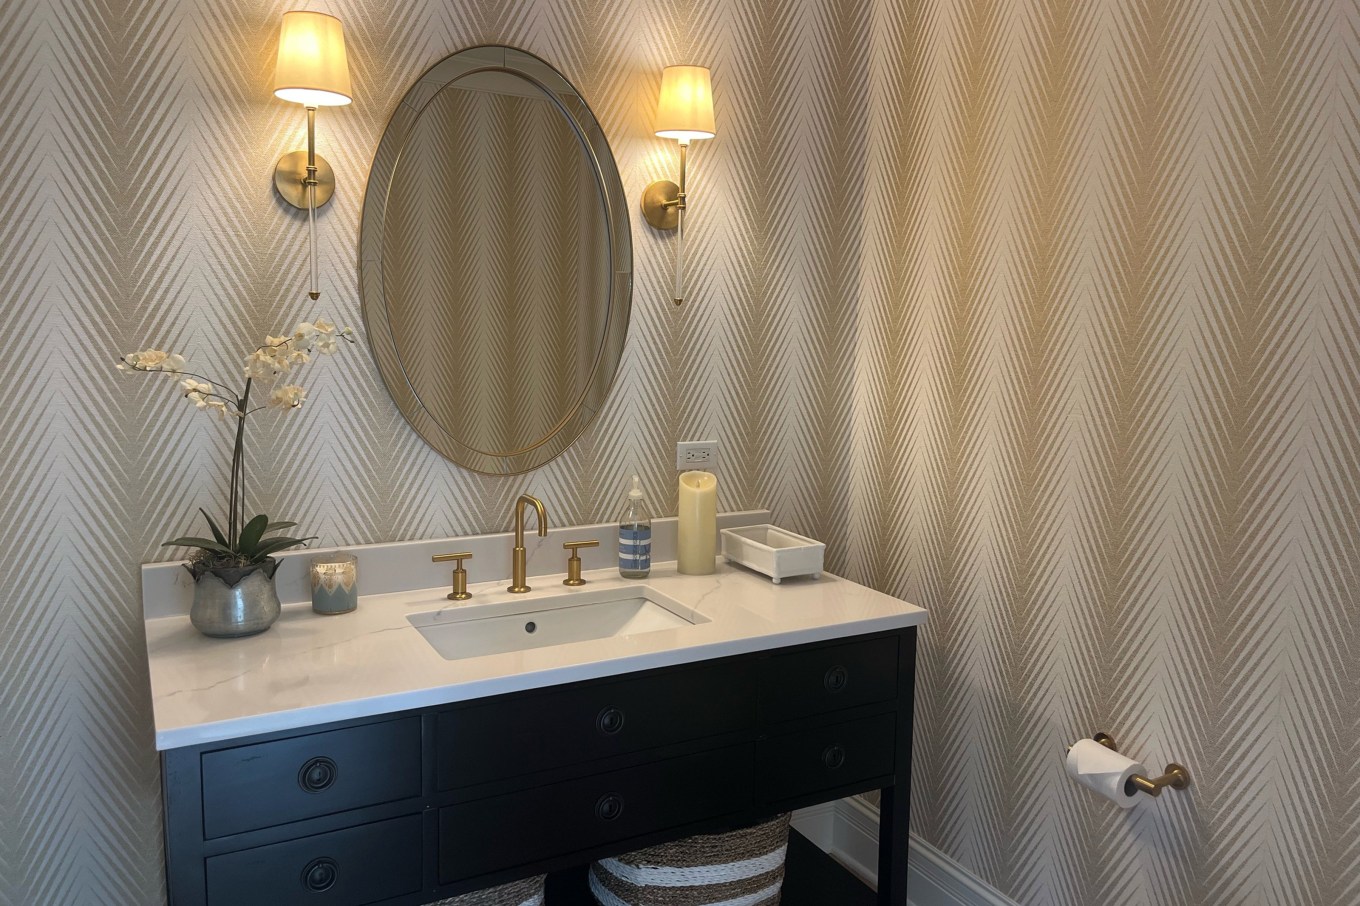
Gold and metallic accents also can bring a shiny texture and depth to the design. Gold light fixtures, brass hardware, gilded picture frames or metallic fittings can work in modern and vintage settings, Mellan-Matulewicz says. Swap out cabinet handles in finishes like brushed gold, matte blue or even pastels — a simple way to add more personality to your décor, Taylor adds.
Use Playful Patterns to Punch Up Dopamine Decorating
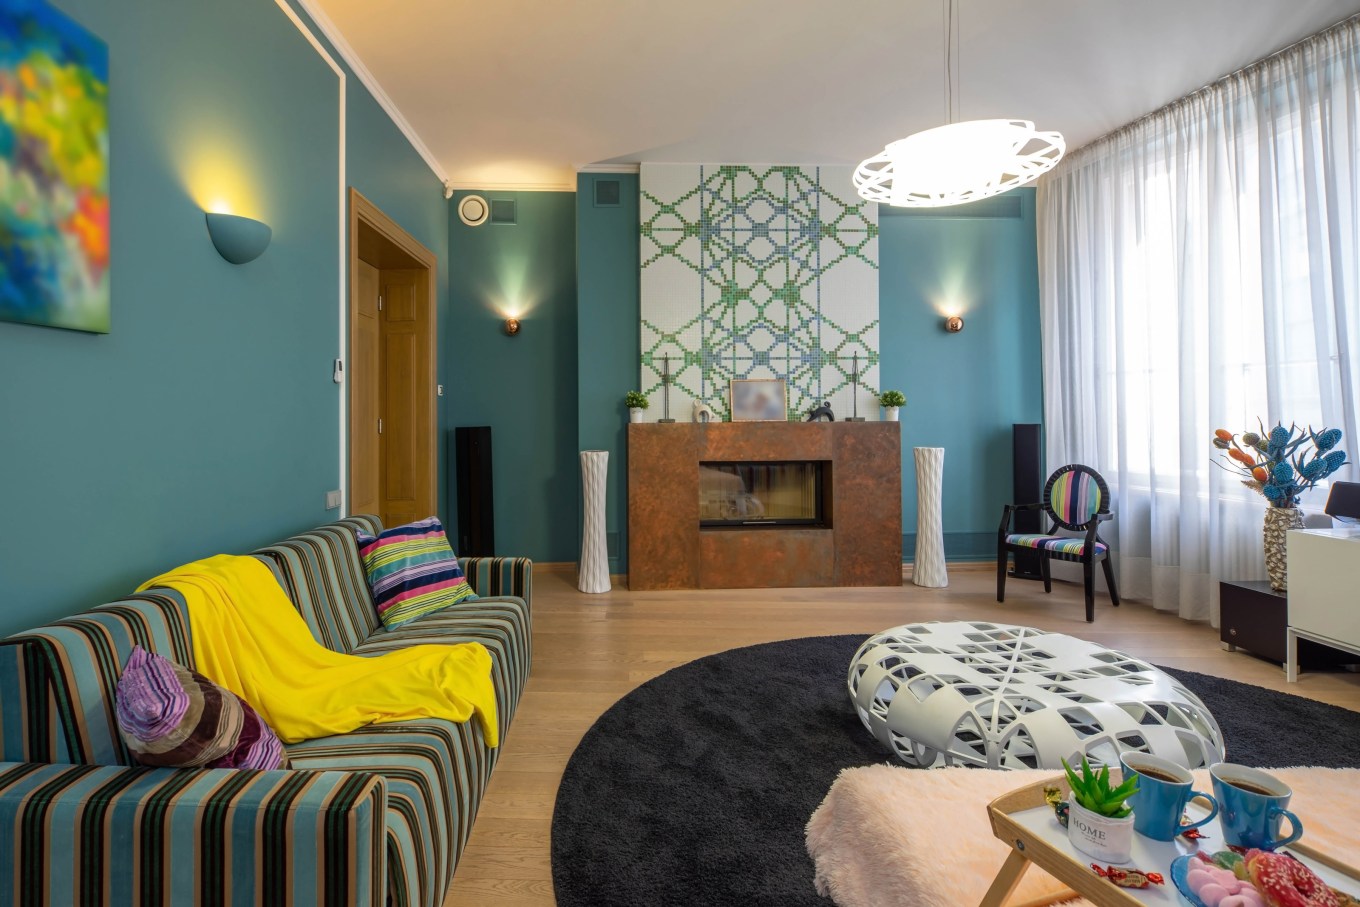
Don’t succumb to always matching. Mix prints and patterns. Wallpapers, upholstery, or even artwork in geometric shapes or whimsical florals can liven up a space.
Mix and match bold patterned wallpaper or wall murals, like a bold checkerboard and stripe pattern or an abstract print. “It’ll bring a fun focal point to your room,” Mellan-Matulewicz says.
Lighten Up Your Mood
Natural light and sunlight infusing an interior space may help raise your dopamine levels. Studies have shown that spaces filled with natural light can boost happiness and even increase your productivity when working from home. Maximize the daylight entering your home from windows.
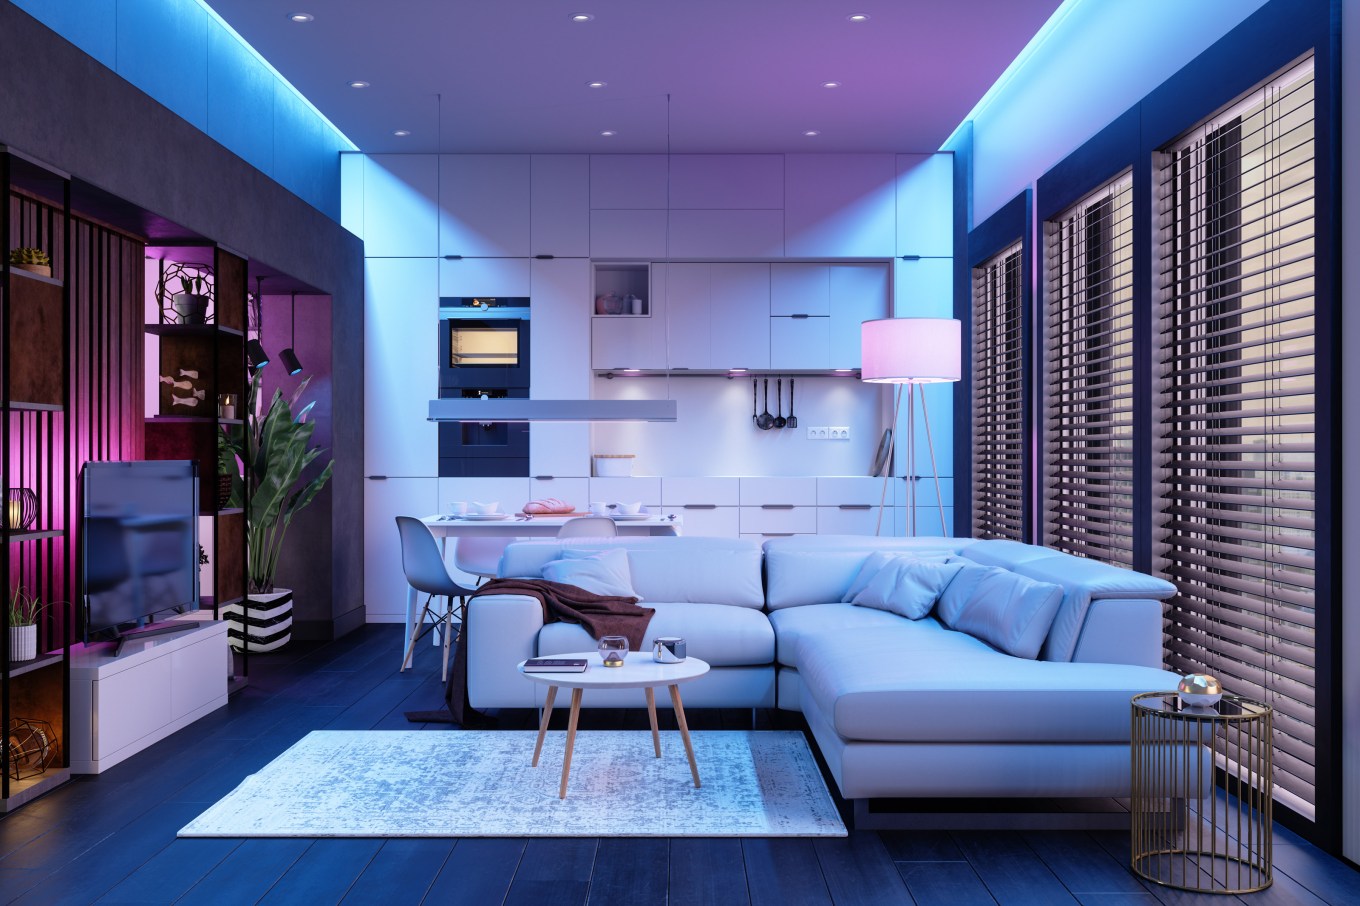
Also, pay attention to your home’s lighting. “Good lighting can completely shift the mood of a room,” Coates says. “Swap out harsh overhead lights for warmer bulbs or add a fun, quirky lamp for a cozy vibe.”
If you want to channel more creativity in your space, try colored LED lights, Coates suggests. Add them under cabinets, behind TVs, around ceilings, or even to light up your outdoor and entertainment spaces.
Also, Coates loves to install dimmers on lights so he can control the temperature and brightness of the lights. “It’s one of my go-to tricks. It’s instant mood control at your fingertips.”
Incorporate Plants and Greenery
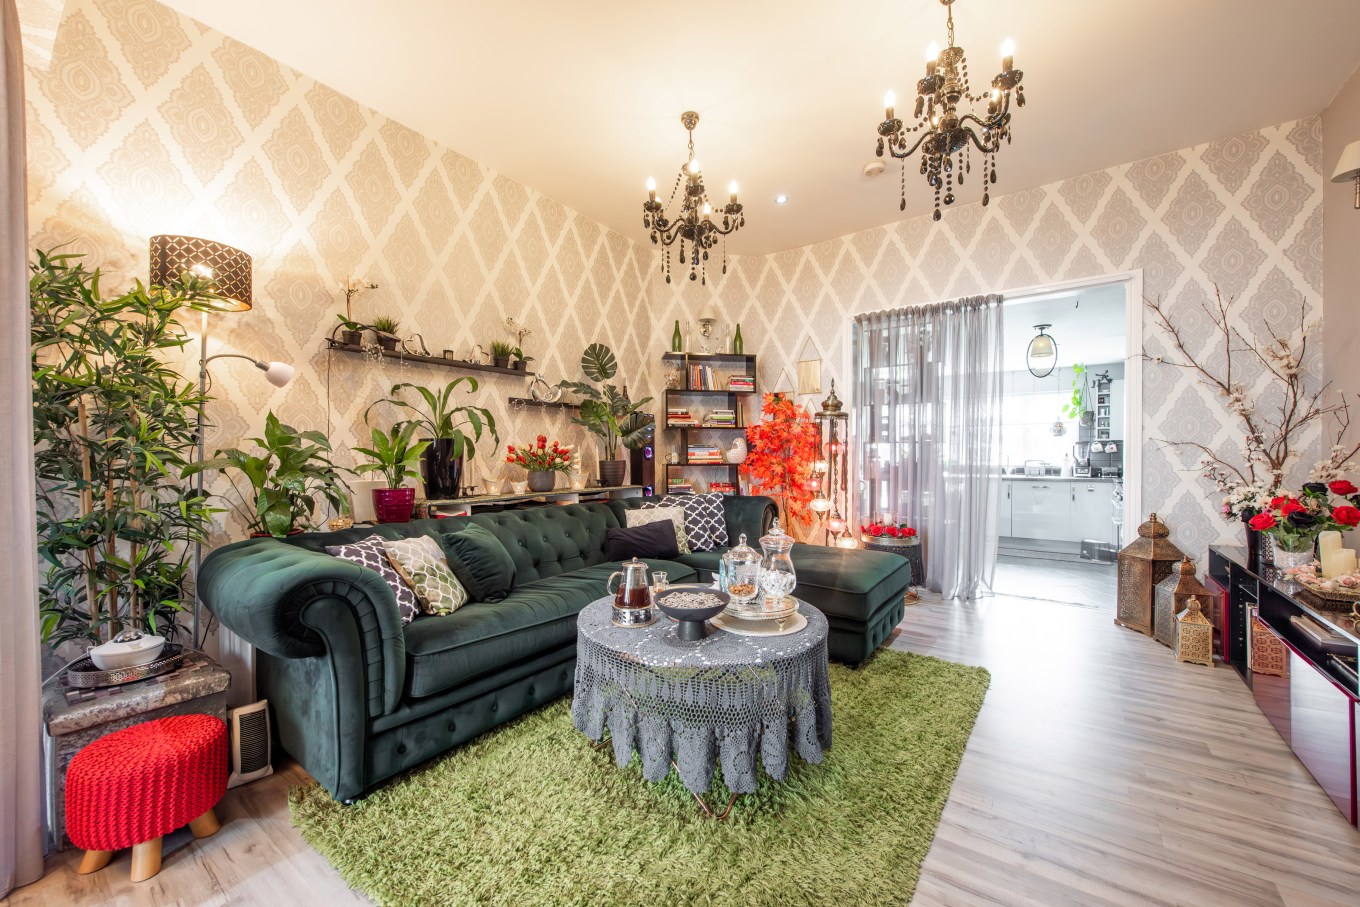
Make houseplants your new BFF. “They bring life, offering that subconscious boost that comes from being surrounded by nature,” Coates says.
The power of plants is proven: Studies show that actively interacting with indoor plants can improve your mental and physical health, even lowering your stress and blood pressure, as well as offering a sense of comfort.
“Incorporating biophilic design by adding fresh herbs in the kitchen, living walls, or wood grain cabinet finishes can bring warmth and connection to nature indoors,” Taylor adds.
Try One-of-a-Kind Home Decorating With Dopamine Decor

Individuals can channel dopamine décor differently. But at its root, it’s a break from uninspiring spaces (yes, we’re talking about you, all-white kitchens and all-gray decorated rooms!) Dopamine décor is about creating a home with more personality and self-expression, whether that’s through color, textures, lighting, patterns, or nostalgic decor.
“Dopamine décor isn’t about following a strict formula,” Coates says. “It’s about curating a space that makes you happy every single time you walk into it.” In essence, it’s about creating your happy space.
“Visit HouseLogic.com for more articles like this. Reprinted from HouseLogic.com with permission of the NATIONAL ASSOCIATION OR REALTORS®.”