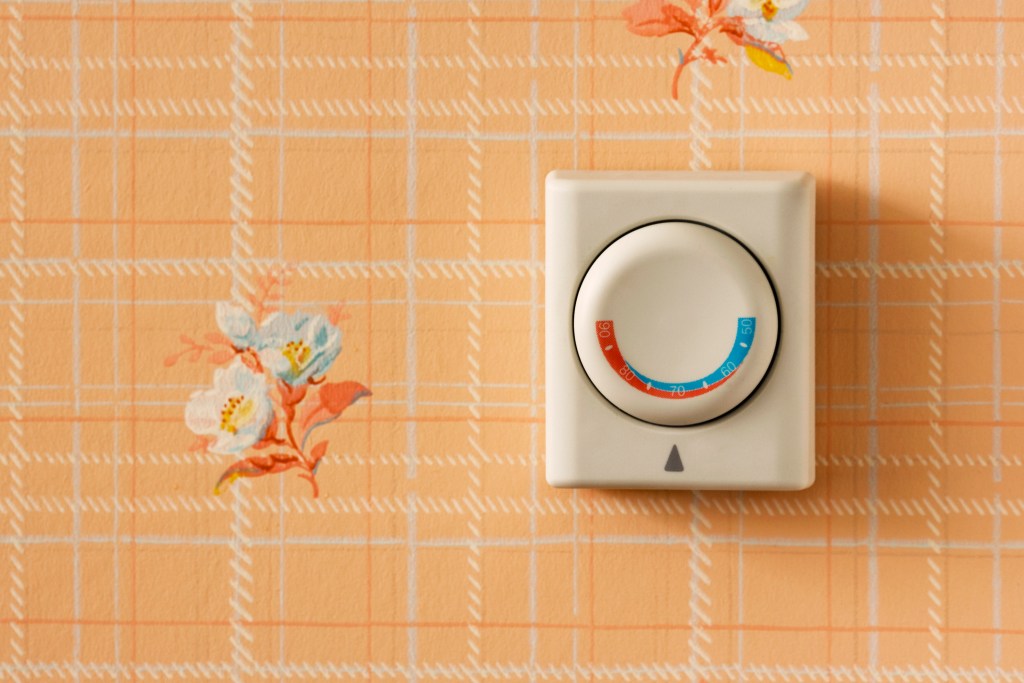
Keep the vintage wallpaper, but upgrade that time- and money-draining retro thermostat to programmable.
What may seem like a good idea often isn’t.
Here are 17 common mistakes new homeowners may make.
#1 Get Rid of Your Only Tub

If resale value is important to you, don’t get rid of your only bathtub, no matter how dreamy that walk-in shower looks.
It will make it harder to sell when the time comes. You’ll flat-out lose buyers who love a good soak or need a tub to bathe little ones (both human and four-legged).
#2 Leave Cabinet Doors on While Painting
Painting your kitchen cabinets pays off big at resale — it’s a small investment for a big wow. But the job’s time-consuming, so it’s tempting to leave the doors on.
Resist. At all costs.
Because no matter how hard you try, it’s not going to look good. Even the pros don’t do it. That should tell you something.
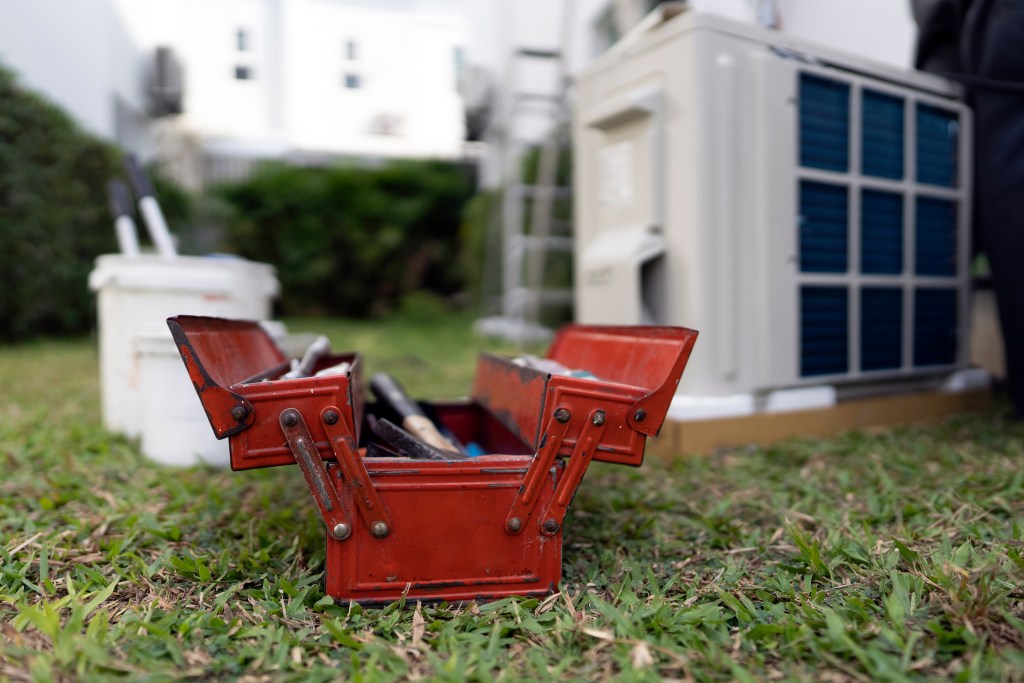
#3 Put Starchy Food Down the Disposal
Today’s garbage disposals can handle more challenging foods than earlier models, but starchy comestibles like potatoes, rice, and oatmeal still stump them.
Fun fact: Every Halloween, plumbers see an increase in calls because people are dumping pumpkin guts into the disposal.
Starchy foods clump when they hit water, clogging disposals and pipes. Instead, put them in the garbage can or, even better, your compost pile.
#4 Plant a Tree Close to Your House

That young sapling just a few feet from your door seems so harmless. Until it grows up.
In addition to the risk of falling limbs, tree roots from mature trees can weaken your home’s foundation and clog plumbing and sewer pipes.
Plant medium and large trees at least 30 to 50 feet from the house. Put small trees (30 feet tall or less) at least eight, preferably 10, feet away.
#5 Flush ‘Flushable’ Wipes
Sewer systems are facing a growing menace: flushable wipes. Despite the name, most don’t disintegrate, even after 10 minutes (compared to a few seconds for toilet paper).
Until a truly flushable wipe exists, don’t flush them — or anything nonorganic, for that matter. Stick with good ol’ TP instead.
#6 Cover Wallpaper With Water-based Paint
You don’t have to remove that dated wallpaper — simply paint over it. Just don’t do it with water-based paint. It can reactivate wallpaper glue and cause the paper to peel. Instead, use oil-based primer, let it dry completely, then apply latex paint over it. Oil-based primer has long been the industry standard and works well with oil and latex paints.
#7 Paint Exterior Brick

Brick needs to breathe. Paint chokes it.
Paint can destroy the brick and mortar and even cause the foundation to crumble. Talk about a hidden cost!
If you’re itching for a new exterior look, try new shutters, paint the front door, or update your landscaping. Those moves can scratch your itch and boost your curb appeal. If you just can’t live with your brick color, try brick stain, which bonds with the brick, allowing it to breathe.
#8 Skip the Last Mow Before Winter
Tempting as it is to skip that last mow before winter, leaving the lawn too tall in cold months gives mice and other rodents good cover from predators, like hawks. Which means they’ve got safe passage to work their way into your warm and cozy home for the winter. Plus, keeping grass short keeps it healthier.
#9 Let Ceiling Fans Run Forever
Ceiling fans don’t decrease the temperature in a room; they increase how quickly your sweat evaporates, making you feel cooler.
Since it’s only beneficial to run ceiling fans when people are in the rooms to enjoy their breeze, save money by turning them off when you’re out.
#10 Tear Out Original Architectural Features
Custom millwork, tin ceiling tiles, and mid-century modern brick give your home its character, so keep them if you’re remodeling (assuming they’re not in awful condition). Buyers appreciate these one-of-a-kind details, and preserving them sets your home apart. They can put your house at the top of house hunters’ lists when it’s time to sell.
#11 Change Your Mailbox Without Checking With Your HOA
Or make any other change to your home’s exterior, such as replace your front steps, add shutters, etc. Homeowners associations work to keep neighborhood elements maintained and consistent in an effort to protect everyone’s home value.
That often includes seemingly small details, so let your HOA know of your upgrade plans. Otherwise, you could risk a citation or fine. Or worse, be told to undo it.
#12 Leave Hoses Connected in Winter
When you retire your lawnmower each fall, disconnect and store hoses, too. Leaving them attached during cold weather can trap water in the pipes, causing them (and possibly the faucets) to freeze. BTW, leaving a hose connected in winter also ruins the hose.
#13 Keep an Old-Fashioned Thermostat

Maintaining a cozy home temp while you’re at work or sleeping wastes money and energy. If your house came with a nonprogrammable thermostat, you’ll have to manually change it multiple times a day to avoid all that waste. (Like you need another task on the way out the door.)
Install a programmable thermostat, stat. Spending about $200 for a single smart thermostat sounds pricey, but most homes can recoup that investment from energy savings in less than two years. Plus, many energy companies offer rebates that greatly reduce the price of a thermostat. Some may even provide one for free.
#14 Put a Brick in Your Toilet Tank
To decrease water use and save money, many people put bricks in their older, high-water-use toilets. But bricks crumble in water and can damage or clog pipes.
Replace the toilet ($350 or less) or fill a half-gallon milk jug with sand and drop it in the tank instead (saving about half a gallon per flush).
#15 Water Grass at Night
It may seem smart to water in the evening — especially if you have a sprinkler system — because electrical rates are lower. But without sun to evaporate it, water is more likely to cling to grass at night, promoting fungus. Instead, water in the morning when the air is cool, the sun is arriving, and there’s less wind than at midday.
#16 Clean Windows on a Sunny Day
Doesn’t a warm, sunny day seem like the perfect time to wash windows? Counter-intuitively, it’s the worst, because the sun dries windows too quickly and causes smears. Instead, save this chore for a cloudy day.
#17 Pour Bleach or Drain Cleaner Down Pipes
Bleach seems like a great agent for keeping pipes unclogged and smelling fresh — and drain cleaner is literally for pipes, right?
Unfortunately, bleach can react with substances in your pipes and cause more clogs than it prevents. Even drain cleaner is rough on pipes — and both are environmentally awful. (Plus, as little as a teaspoon of drain cleaner can destroy a septic field.)
Instead, use a pipe snake (also known as an auger) to keep pipes running smoothly.
“Visit HouseLogic.com for more articles like this. Reprinted from HouseLogic.com with permission of the NATIONAL ASSOCIATION OF REALTORS®.”