A toilet that’s missing those annoying, nasty grooves? Sign us up.

No matter if you keep your home sealed tight, leave the windows open, have a steady stream of visitors stopping by, or prefer to be alone, dirt (and, worse, microbes!) will worm their way into your pad.
And bathrooms are the worst for collecting the yuckiest of grime and germs. Check out these upgrades that’ll give you a fighting chance against germs, dirt, and bacteria while doing a whole-lot-less cleaning. Game. On.
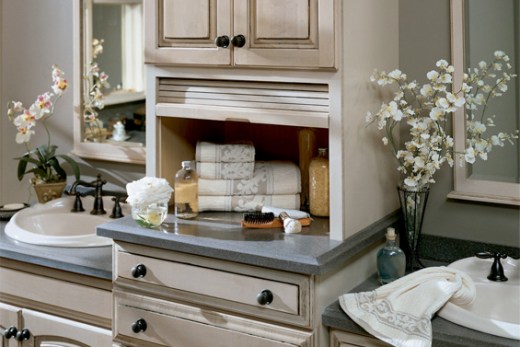
#1 Materials That Use Little or No Grout
Who says a bathroom has to have tile? Dirt and grime love to cling to the gritty grout between tiles. To banish it from your bathroom for good, try glass or waterproofed real-stone veneer. They come in large sheets — hardly any grout needed. Maybe some at the joints, but that’s better than the entire wall and floor.
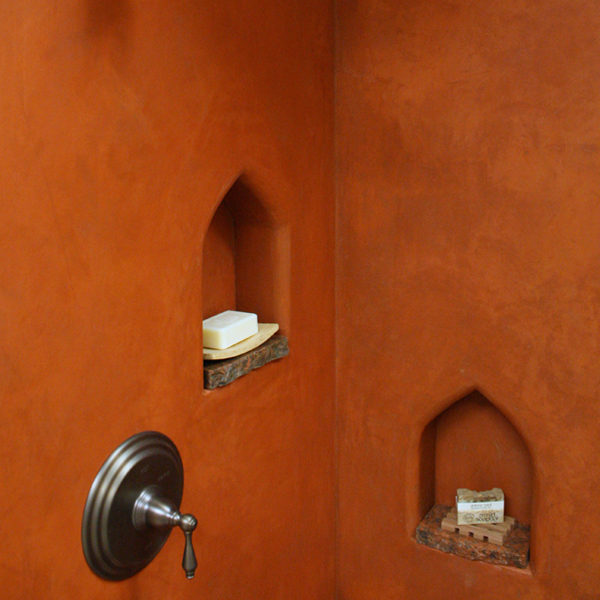
If you want to go completely groutless, there’s an ancient Moroccan technique called tadelakt that uses lime-based plaster, which is waterproof, resists mold and mildew, and, best of all, is sealed with a soap solution to keep grime away. It’s worked for centuries, so it should work in your bath, too. It’s pricey, though, because it requires trained artisans to apply.
An affordable alternative, suggests Stephanie Horowitz, managing director of ZeroEnergy Design in Boston, is to opt for large tiles with narrower grout lines. “It’s a fresh, modern look that requires minimal upkeep,” she says.
#2 No-Touch Faucets

Sensor-operated faucets aren’t just for crowded airport and mall restrooms. They’re growing in popularity in homes, too. If germs are your No. 1 enemy, a sensor faucet is a good choice because without touch, it’s tough for germs to find a foothold.
Some models also light up when you approach the sink — a cool, futuristic bonus for when you’re stumbling around in the middle of the night.
But because sensor faucets require a battery or electrical connection, users have complained that they break down more. Funny thing, though. Many say they would buy it again because they love the touchless feature.
Just don’t expect them to save you water. The last official study by the Alliance for Water Efficiency (in 2009) found they actually used more water.
#3 No-Groove Toilets

If you’ve ever transformed into a contortionist while reaching to clean every last yucky crevice in your toilet, the one-piece model was made for you. Because traditional two-piece toilets have a separate bowl and tank, they have lots of tiny crevices that are hard to really get clean.
You may spend a bit more for a one-piece model, which is molded from a single piece of porcelain, but the amount of scrubbing time you save may make it worthwhile. Plus, you don’t have to get up close and personal with the nasty parts.
Today’s pressure-assisted toilets not only reduce cleaning time, but virtually eliminate backups, thanks to a forceful jet of water that scrubs the entire bowl and removes everything in its path. On this one, you’ll actually save water. Because of their eco-smart designs, these high-efficiency toilets can save a family of four up to 16,500 gallons of water annually.https://html5-player.libsyn.com/embed/episode/id/17234132/height/90/theme/custom/thumbnail/yes/direction/forward/render-playlist/no/custom-color/000000/
#4 A (Good!) Exhaust Fan

This is probably the least-sexy upgrade, but did you know it’s the No. 1 feature buyers want in a bathroom? That’s probably because it’s so effective at fighting bad micro-organisms.
Not only does a good exhaust fan fight mold, mildew, and other nasty micro-organisms, it protects your walls, paint, and trim. If left unchecked, excess moisture can cause your wallboard, paint, and trim to deteriorate. So spending a few hundred dollars on a fan and pro install could save you thousands down the road.
That’s a low-cost, no-brainer upgrade. Even if you already have an exhaust fan, take a look at the newer ones. Today’s models are much more efficient than the old buzz saw you might currently own. They’re quieter, more powerful, and use less energy.
If you forget to turn it on before you step into the shower, some models even come with a humidity-sensing feature that automatically turns the fan on when humidity is detected, then shuts off when the air is clear.
“Visit HouseLogic.com for more articles like this. Reprinted from HouseLogic.com with permission of the NATIONAL ASSOCIATION OF REALTORS®.”