Many homes are going under contract the first weekend they’re listed—and sometimes without any preparation for the market. Still, real estate professionals can’t promise sellers their property will stand out and receive the highest offers unless buyers fall in love with the home. That’s where staging makes a big difference! In what ways does staging capture buyers’ hearts for a successful, top-dollar sale? Let us explain:

Help Buyers Emotionally Connect
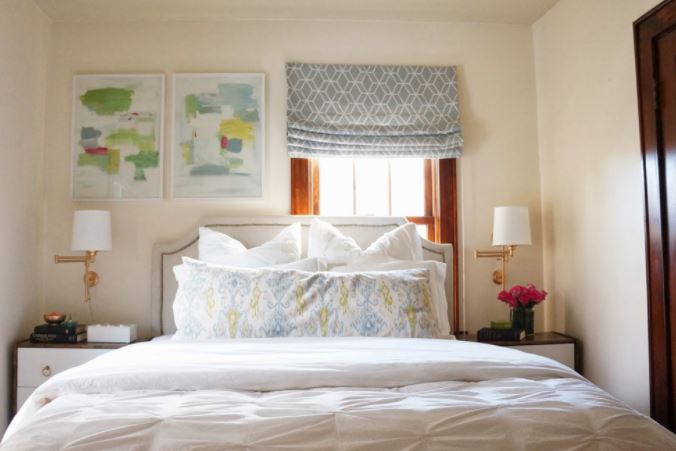
Staging is about showcasing an engaging, move-in ready home that creates an emotional connection with the buyer. Updating décor with on-trend, inviting style—particularly in living rooms, primary bedrooms, kitchens, and dining rooms—can make a memorable impression. Once engaged, buyers will be more committed and possibly willing to increase their offer, and they may be less likely to change their minds at the last minute or ask for concessions.
Eighty-two percent of buyers’ agents said staging helped their clients visualize the property as their home, according to the National Association of REALTORS® 2021 Profile of Home Staging.
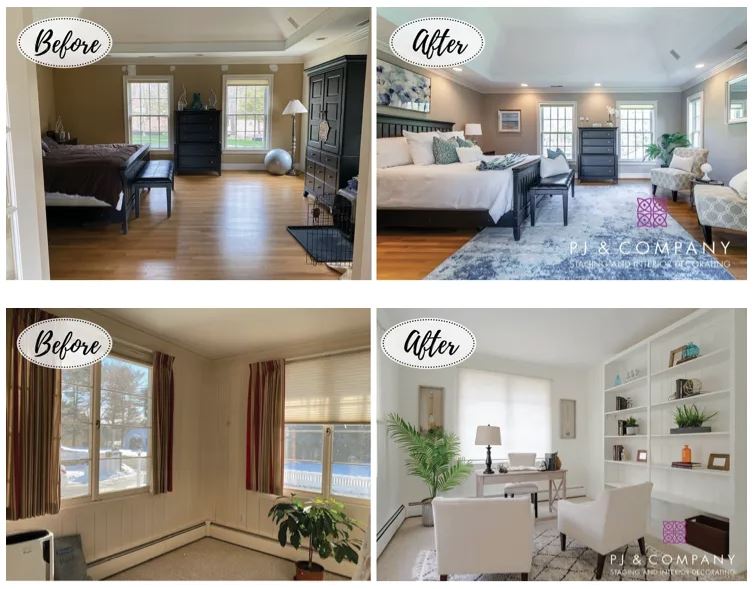
Increase Perceived Value
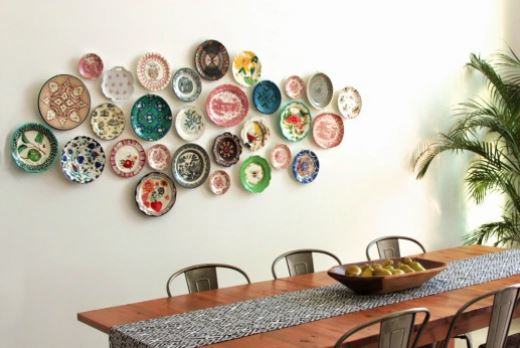
With staging, you minimize the negatives and accentuate the positives of a property to make the best impression. Start by decluttering and depersonalizing to remove any potential distractions. Then, add a coat of neutral wall color to brighten the space, remove dated window treatments, and strategically arrange furniture and remove bulky pieces. These simple updates will help play up the home’s unique features and increase the perceived value.
More than a quarter of buyers are more willing to overlook property faults if a home is staged, according to NAR’s 2021 Profile of Home Staging.
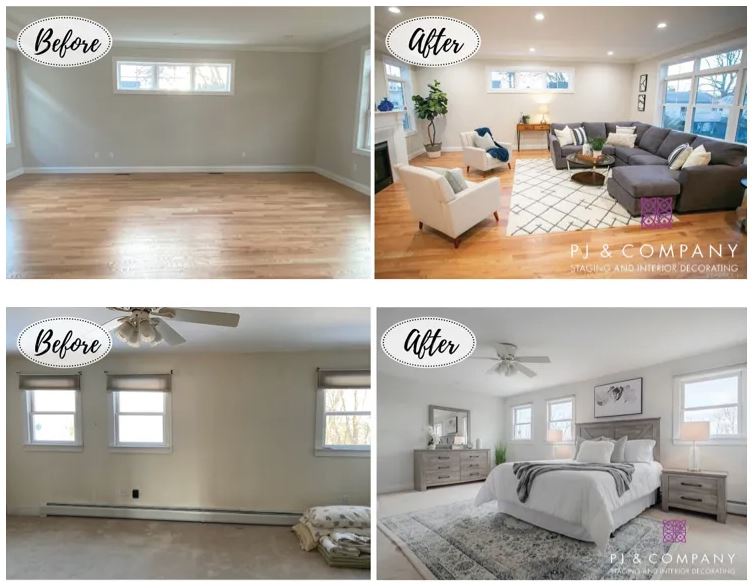
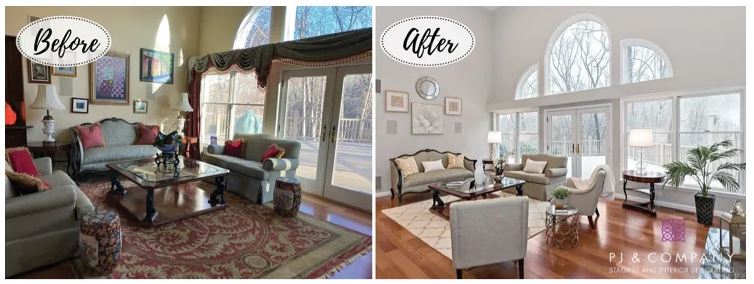
Help Buyers Better “Visualize” a Vacant Home
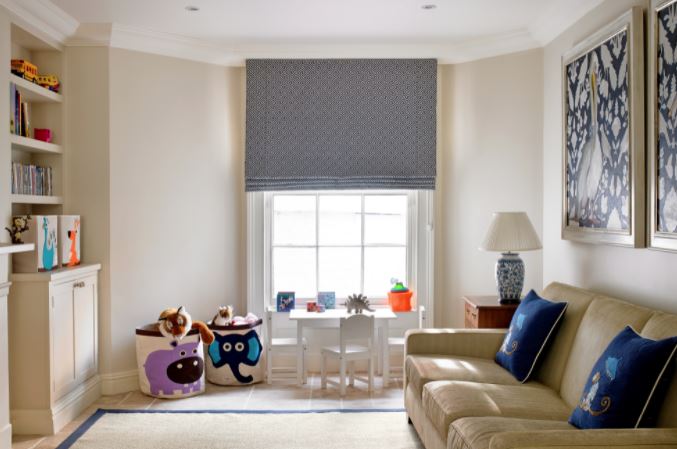
There is no question that a dark, empty property will not get the same attention as one filled with on-trend, engaging furnishings and accessories. Not only does it instantly help buyers visualize their furniture in the space and how it will match their lifestyle, but it also creates a more spacious and inviting room.
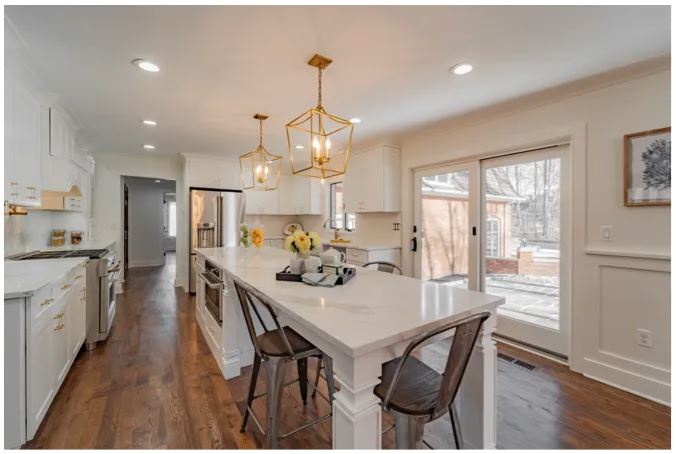
Create Quality Online Images to Peak Interest
You only get one chance to make a first impression. Nearly all—99%—of millennial home buyers start their search online, according to NAR’s data. Even in a hot market, staging a photo-ready property can directly influence a buyer’s decision to see the home in person and submit an offer.
Stats Show Staging Is Worth the Investment
Staging is an investment that helps maximize the rate of return on the sale of the property—and usually costs less than the first price reduction. With an average investment of 1% of the sale price into staging, about 75% of sellers saw an ROI of 5% to 15% over asking price, according to data from the Real Estate Staging Association (RESA).
A recent survey from the International Association of Home Staging Professionals shows that staging helps sell homes three to 30 times faster than the nonstaged competition. Further, staging can help increase the sale price by up to 20% on average.
For sellers who decide not to stage, the IAHSP survey also shows that the average price reduction on a home was five to 20 times more than what the staging investment would have been.
For more examples of interior decorating and home staging, visit pjstagingdecorating.com(link is external).
Copyright National Association of REALTORS®. Reprinted with permission.