
DIY gone wrong is your worst nightmare. Sleep better with these tips to master DIY know-how.
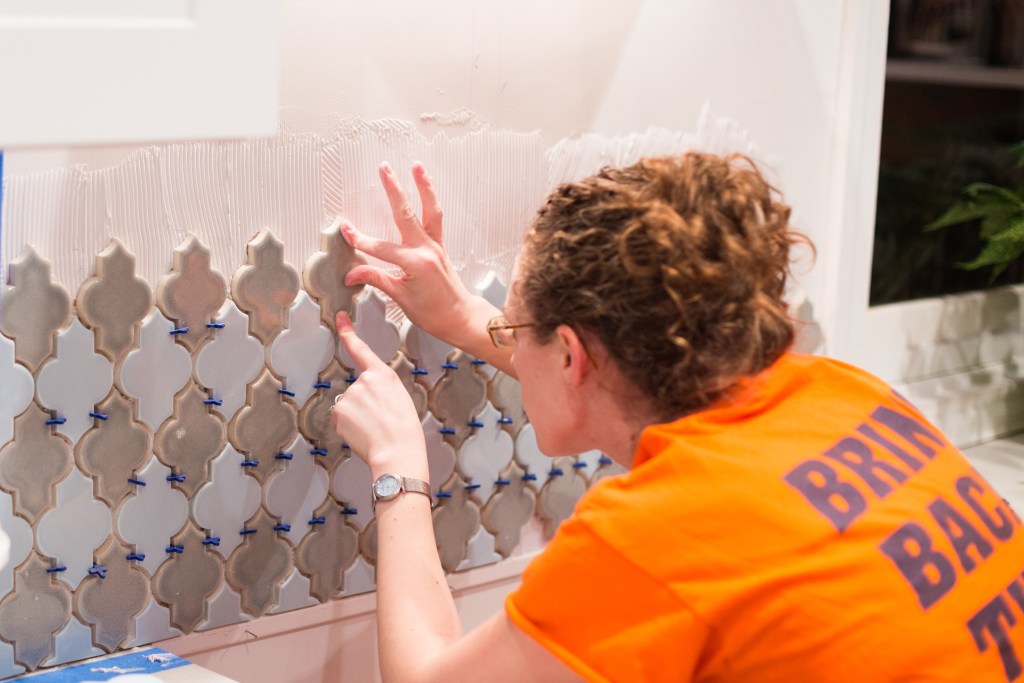
- New backsplash? You’ve done it. Upgrading a faucet? No problem. You’re a DIY master. But what about that electrical issue? Or fixing a leaky roof? Even though you (and your BFF, YouTube) have pulled off many DIY projects, you know there are projects you’ve no business trying on your own. But what about those projects that fall somewhere in between “I got this” and “I’m calling the pros”? How can you know if a project is really DIYable for you?
For Lucas Hall, finding that answer has been trial and error. As a “DIY landlord” for more than two years and founder of Landlordology, an online resource for landlords, he’s gutted three homes and renovated countless others.
“I’m just handy enough to be dangerous,” Hall says.
He’s suffered more than his fair share of DIY disasters. With each, he’s learned a valuable lesson about his own limits, as well as how he can do better next time.
Think 10 Steps Ahead
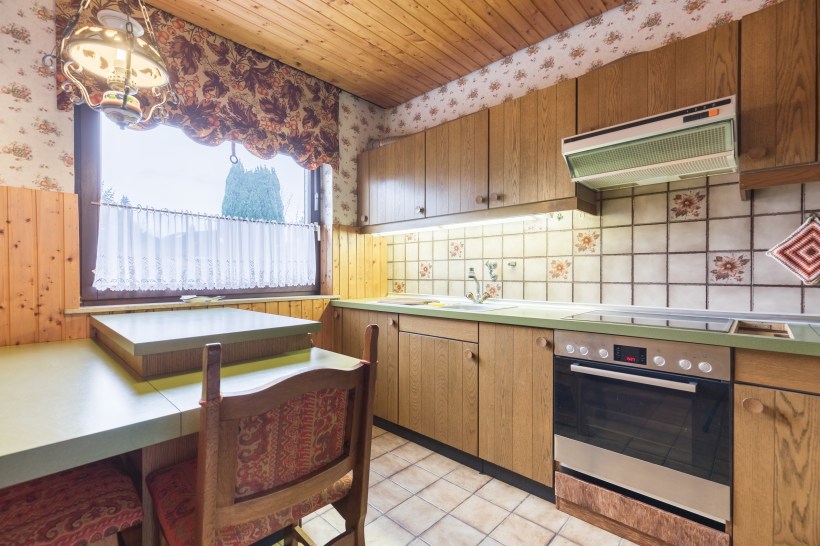
When Hall updated a tiny kitchen in one of his rentals, he installed a brand-new, expensive fridge — and then built a peninsula countertop extension.
“We thought it was the greatest idea,” he says. But adding the peninsula narrowed the space in front of the refrigerator, making it impossible to remove without lifting it entirely up and over the extension. (Ever tried to lift a fridge?)

- “I’m just praying the fridge doesn’t die on me, because I’m going to have to hire four or five burly guys to get it out,” Hall says. “Or just Sawzall the thing in half.”
- DIY lesson: Measure once, measure twice, measure again, and think through every possible scenario before changing a room’s layout.
Don’t Go With the Cheapest Option
Speaking of kitchen appliances: Hall was looking for an island range hood, which can be extra-expensive because it needs to be attractive from all angles. Dismayed by the prices he found elsewhere online, he went to Amazon, where he found an $800 hood on sale for about $250.
“Of course, it was from a brand we hadn’t really heard of,” Hall says.
Less than a year after installation, the hood was on the fritz. Removing the appliance was a challenge. The electrical wiring needed to be redone, and the wall needed to be drywalled, requiring a professional contractor.
“It probably cost me three-fold to fix my mistake,” says Hall. “For any appliance that’s more complicated than plugging it in and rolling it into place, upgrade and buy something that’s not going to break on you within a year.”
DIY lesson: For any DIY project, the cheapest option, from materials to appliances, should raise a red flag.
For Specialty Work, Seek Specialty Advice
Hall is no electrician, but since he’d done some minor electrical work before, he figured the job of adding a dimmer switch would be no big deal.
“We hung a chandelier in the dining room and figured you might want to dim this giant chandelier for a relaxing candlelit dinner,” says Hall. Because the space had switches at both entrances, he added a dimmer to both — the more the merrier, right?
Wrong.
“After four hours spent blowing circuits and lightbulbs and struggling to get this chandelier to dim correctly, we called the manufacturer,” Hall says. Spoiler alert: You just can’t have two dimmer switches for one circuit.
A dimmer works by modulating the amount of electricity flowing through the circuit; adding another one causes chaos. A little research would’ve indicated the second dimmer switch was a no-no.
“It just flips out,” says Hall. “It doesn’t know how much dimming should be happening. The lights were flickering like a poltergeist.”
DIY lesson: No one blames you for not being a specialist, but any time you’re taking on a specialty project make sure to do your research first or consult a pro.
DIY When Help is Available (aka, NOT on a Holiday)
Holidays might be a great time to tackle minor DIY projects, but if you’re working on anything that could require a professional if things go south, consider waiting for a normal business day.
“I was trying to get a property ready to rent,” says Hall. “Time is money. It was the Fourth of July, and I was adding a new cabinet [in the bathroom].”
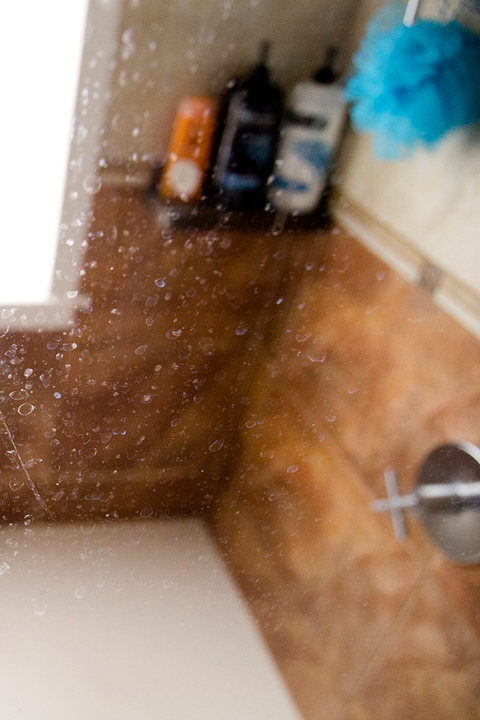
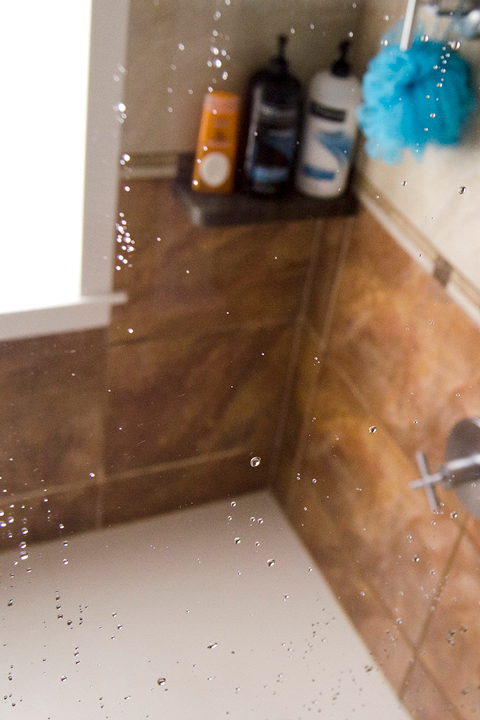
It sounds easy enough, but the unit was in a condo building with a centralized water system; there wasn’t a water shut-off valve for just that bathroom. Not wanting to shut down the water for the entire building on July Fourth, he decided to risk it.
And oh, what a risk it turned out to be. When trying to loosen a pipe, the whole thing broke off. It was rusted out. Water sprayed out so hard, it hit him in the chest. After rushing to the basement, he flipped every knob he found until the water shut-off.
“Luckily my property was on the first floor and the basement was a laundry room, because water was leaking through the floor, destroying drywall,” Hall says.
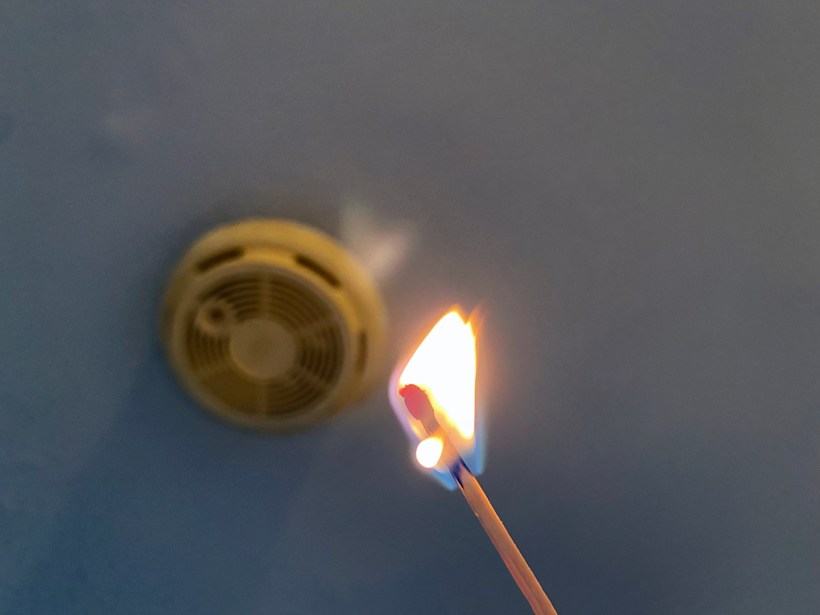
Being a holiday, the rest of the day was no less of a disaster. The condo association’s emergency line sent him a plumber who was angry to be missing his holiday events and drinking as he tried to fix the problem. Sloppy work resulted in a fire — in a building with no water.
“He runs to my fridge and starts grabbing anything liquid — milk, a bottle of Sprite, cans of beer,” Hall recalls. “He’s dumping water into the middle of the wall, punching holes in it, trying to find the fire.”
DIY lesson: Always do tricky DIY projects when you know a pro — a pro you trust — can help out in a hurry.
“Visit HouseLogic.com for more articles like this. Reprinted from HouseLogic.com with permission of the NATIONAL ASSOCIATION OF REALTORS®.”


