

Yes, a more homey home starts with a new toilet seat.
CONTRIBUTED BY
This article was contributed by Katie and Jeremy Bower, home and lifestyle bloggers for “Bower Power.” They spend every waking minute loving to create, improving homes, and teaching their four little boys (all ages six and under!) how to laugh, love, and learn!
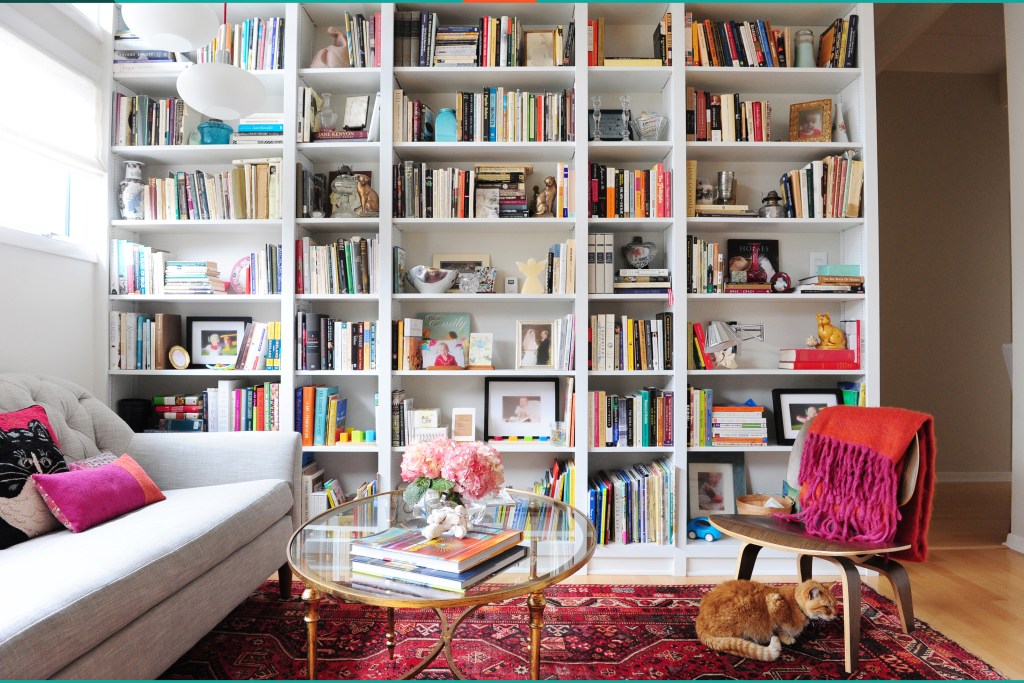
Moving into your dream home can be a daunting task. Between unpacking, cleaning, and trying to find that stray roll of toilet paper, it may feel like you’ve lost your mind in a sea of Bubble Wrap.
That’s why I wanted to share with you five simple things that you should do during the first month in your new home. These may feel like back-burner tasks, but really, they’ll help you sleep better at night and make your new place feel less like a house and more like your home.
When we moved into our dream house, we were tired, overwhelmed, and couldn’t remember where we put the sippy cups for our 10-month-old son. Plus, we had no idea what to do first! Of course, we cleaned and unpacked, but what next?
This handful of to-do’s walks you through each of those tasks and why you should tackle them first and foremost.
Let’s get to it!
#1 Lock It Up
Security is the No. 1 concern for most people in a new environment. You can easily switch out your locks and deadbolts to your new home to protect your valuables and your family.

- Now’s the time to consider the lockset finish, and the options are endless. When it comes to exterior locks, make sure you choose something that looks timeless and can be cleaned easily.
A new security system is also a good idea. The options for this are many as well. Systems with online monitoring, smartphone compatibility, thermostat control, and even video monitors for the interior including the baby nursery are super helpful. Even if that room is empty now, it might not be in the future – so go ahead and secure it!
Popular Reads
#2 Remove Toilet Seats
Some folks may think it’s unnecessary to replace toilet seats, but my point here is to simply remove them. By removing your toilet seats, you can really deep clean under the bolts and hinges where the “yucks” like to hide. Your goal is to make sure your royal throne is YOU-worthy.

- You can reinstall your existing seat or opt to shop for a new one. New versions with night-lights, padding, or even child-sized attachments are available. Either way, you’ll know your favorite seat in the house is ready for your entire family.
#3 Improve Your Home’s Air
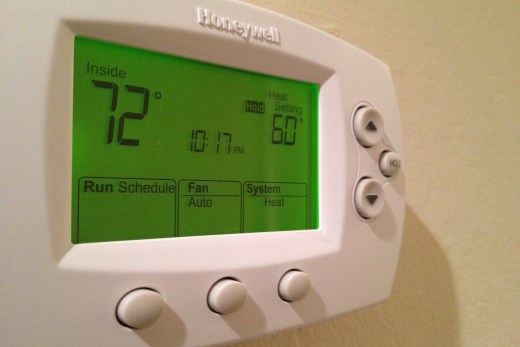
Changing an air filter is a three-minute task, and it should be done right after moving into a new home – even if the previous owners swear the chore was just done. Changing out a filter can help improve the performance of your air conditioning and furnace and help with any allergens in the home.

- This inexpensive fix can also save you money! The U.S. Department of Energy says that replacing your dirty air filter with a new one can lower your AC’s energy consumption by 5% to 15%.
It’s a good idea to write the replacement date directly on the filter when you put it in so you can be sure you know how long it’s been since the last change.
Also, take the time to test and change out batteries in all your smoke alarms and carbon monoxide detectors. These are often tested during inspections, but the batteries can die and tampered-with units aren’t uncommon, especially if a house was left vacant.
Related: How to Keep Your Heating and Cooling System in Top Shape
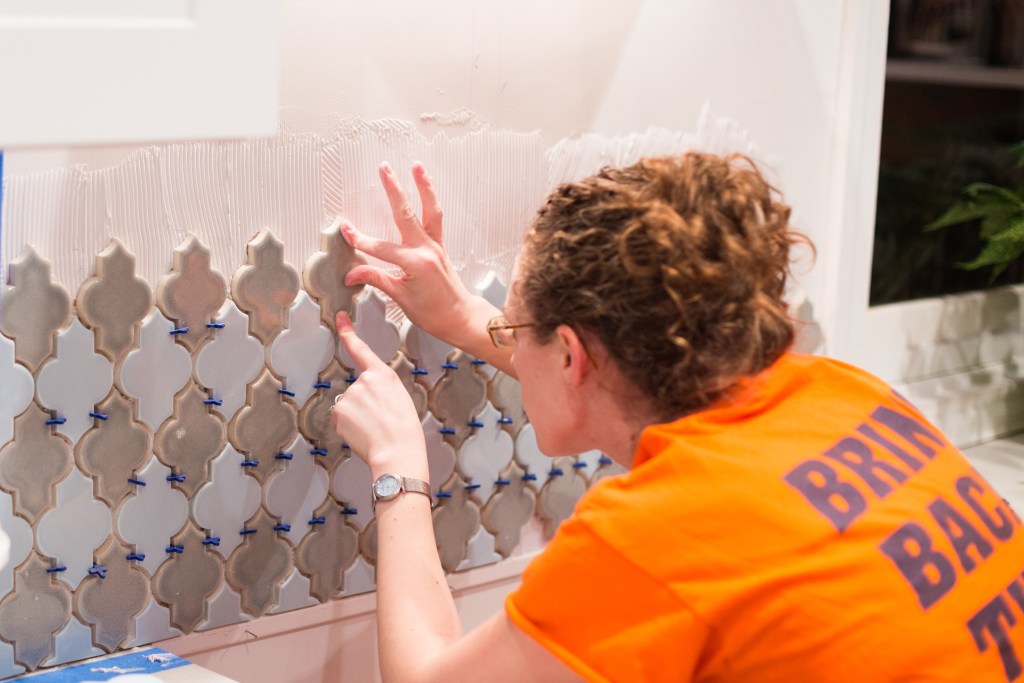
#4 Paint Your Front Door
Painting your front door (or freshening it with a coat of oil if it’s wood) can show your new neighbors you’ve arrived on the block and you’re investing in your home. This simple task is so easy!

- After you do proper prep work, which includes sanding the surface, make sure you pick an exterior-grade paint and use a high-quality bristle brush to give it multiple thin coats for the best coverage. It’s a great time to show off your personal style, and these days any color goes!
Every day you walk in through your newly made-over door, you’ll feel welcomed into your new home and inspired to keep creating a space you love.
#5 Choose Your Signature Scent
Every house has a smell. You know what I’m talking about. It’s that “other people smell” that’s definitely not your own particular brand of aroma. Even if the smell isn’t bad, it just isn’t yours, and that makes you feel like an intruder in someone else’s space. Make your dream home even more dreamy by filling it with your signature scent.
Don’t have a signature scent? Check out a candle store or the air-freshener aisle to peruse the options, and then regularly use your favorite in your new home. My favorite is a lemon-vanilla-rosemary mix that I let simmer all day on the stove; it fills every room of the house.
In homes that have particularly distressing “stanks,” try getting the carpets cleaned before moving in the furniture. It can eliminate the smell as well as remove allergens, dirt, and stains.
“Visit HouseLogic.com for more articles like this. Reprinted from HouseLogic.com with permission of the NATIONAL ASSOCIATION OF REALTORS®.”


